Introduction:
The resilient bar in your gym is more than just equipment; it symbolizes commitment and strength. When it breaks down, however, it can be disheartening. This article offers a step-by-step guide on identifying, repairing, and maintaining your resilient bar to get it back in top shape.
-
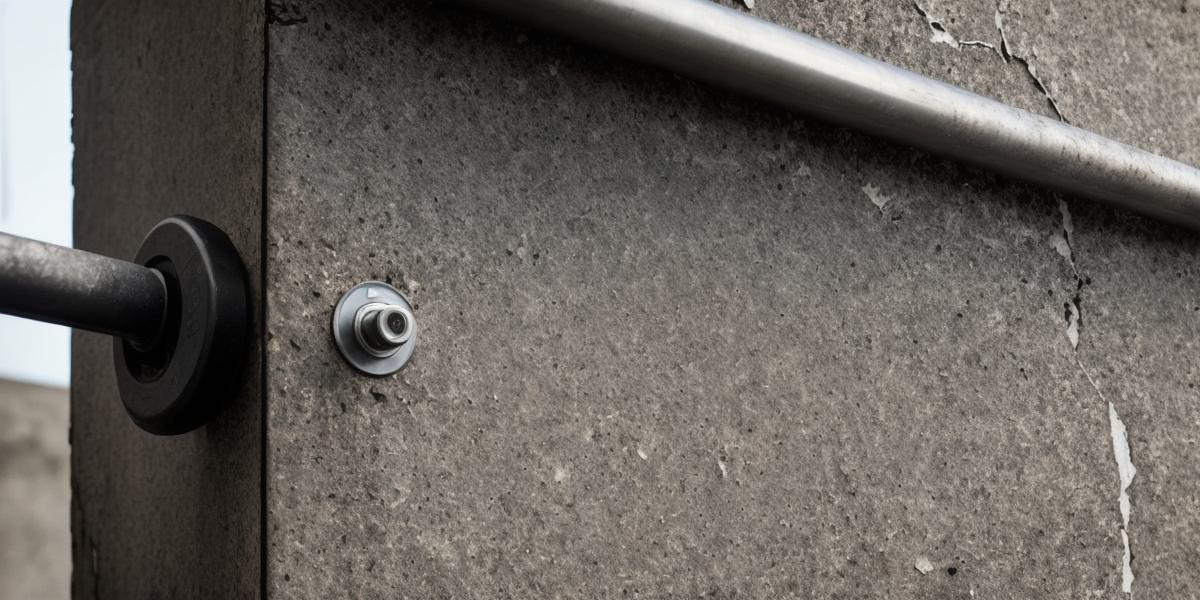
Identify the Issue:
Determine the cause of the problem – loose nut/bolt or a bent part – by visual inspection. Diagnosing accurately saves time and money as you’ll address the root cause instead of merely treating symptoms. -
Gather Tools:
Once diagnosed, collect necessary tools like wrenches, pliers, screwdrivers, or replacement parts to tackle the repair effectively. -
Making the Repair:
Carefully follow these steps: a) Locate the damaged area and loosen surrounding components. b) Remove the damaged part. c) Install the new part if required, ensuring proper alignment and tightness. d) Reassemble and tighten all components securely.
-
Preventing Future Breakdowns:
Avoid repetitive repairs by maintaining your resilient bar regularly. Clean it, lubricate moving parts, and perform routine checks to prevent breakdowns.
Case Study: John’s Success Story
John, devastated when his resilient bar broke during a heavy lift, repaired it himself using this guide after identifying the issue as a loose bolt.
FAQs:
- What causes a resilient bar to break? – Improper usage, wear and tear, or lack of maintenance can cause a resilient bar to break.
- Can I repair my resilient bar myself or do I need to hire a professional? – Most repairs can be done independently; however, complex issues might require professional help.
- How often should I maintain my resilient bar? – Regularly clean and lubricate your resilient bar, and perform thorough checks at least once per month for optimal performance.