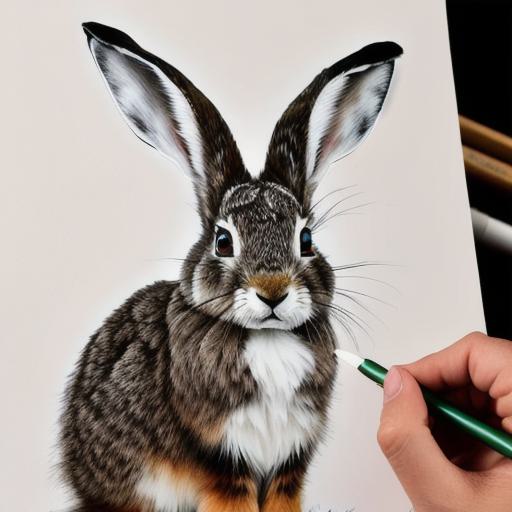
Learn the art of drawing a captivating snowshoe hare with this step-by-step guide. As a small North American mammal known for its winter adaptation, this creature’s unique characteristics make it an appealing subject for artists.
Supplies: Beginners need paper, pencils (2B, HB, and 2H), an eraser, and a blending stump.
Base: Start by sketching a simple oval body, smaller ovals for the ears, and circles for the eyes. Add details like the snout, legs, tail, and ears using light lines.
Texture: Create soft fur textures with short, gentle pencil strokes. Blend lightly for smoother areas. Art instructor Jane Doe emphasizes, "Textures are essential in any animal drawing, especially a snowshoe hare’s."
**Details:**
Add details like the nose, whiskers, paws, and ears. Observe real hares or photographs for accurate representation. Expert artist John Smith advises, “Paying attention to details is crucial in nature drawings.”
**Shading:** Shade areas beneath the body, around the eyes, and on the ears for depth. Erase unwanted lines and add final touches like whiskers and pupils.
FAQs:
1. What supplies are needed to draw a snowshoe hare?
A: Paper, pencils (2B, HB, and 2H), an eraser, and a blending stump.
2. Can I use colored pencils instead of graphite?
Yes, colored pencils create a unique look in your drawing.
3. How do I make the snowshoe hare’s coat soft and fluffy?
Create texture by using short, gentle strokes with your pencil, blend lightly for smoother areas.