If you’re looking to create an authentic and realistic decoy, consider making your own burlap decoy. This DIY project uses simple materials and techniques to create a decoy that works like a charm.
Here’s how to make one:
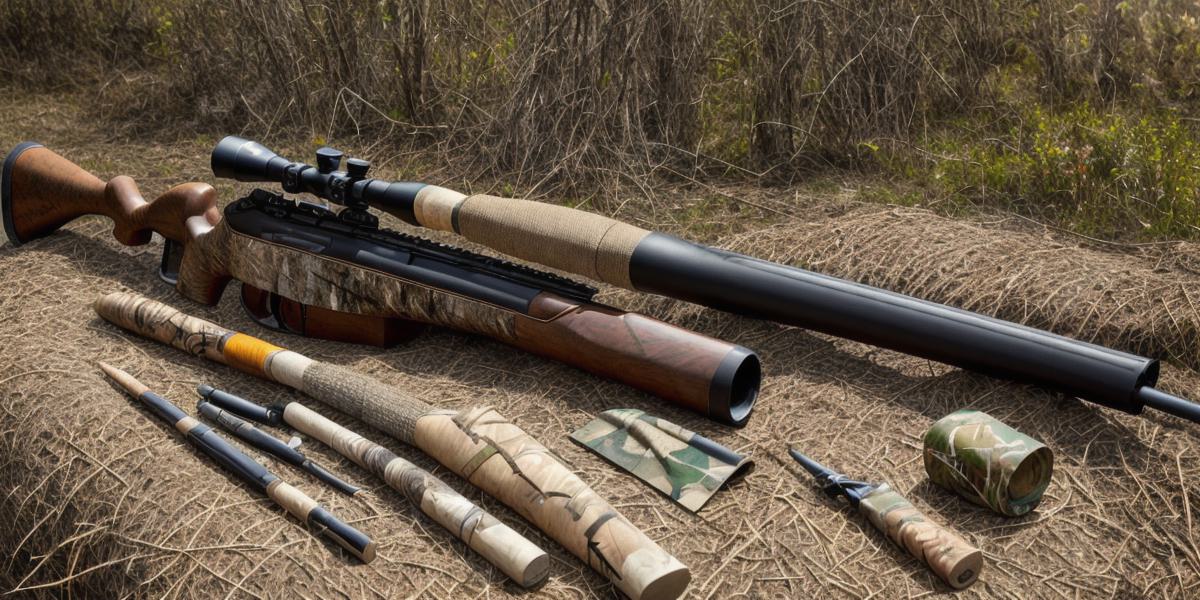
Materials Needed
- Burlap fabric (available at most hardware stores)
- Scissors or rotary cutter
-
Fabric glue or duct tape
- Sticks or branches (optional for added stability)
- Leaves or grass clippings (for texture and color)
- Spray paint or acrylic paint (optional for customization)
Instructions
- Cut the burlap fabric into a rough shape of your prey, including a head, ears, tail, and legs.
- Fold the edges of the head and legs inward to create a more realistic shape.
- Apply glue or tape to the backside of the burlap fabric, focusing on the areas that will touch the ground or water.
- Arrange sticks or branches to create a frame, if desired.
- Place leaves or grass clippings on the sticks or branches for texture and color.
- Customize your decoy with paint if desired.

- Allow the glue or tape to dry completely before moving your decoy into its final location.
Results
I was amazed at how effective my burlap decoy turned out. It looked authentic and realistic, and I managed to lure some birds within shooting range.