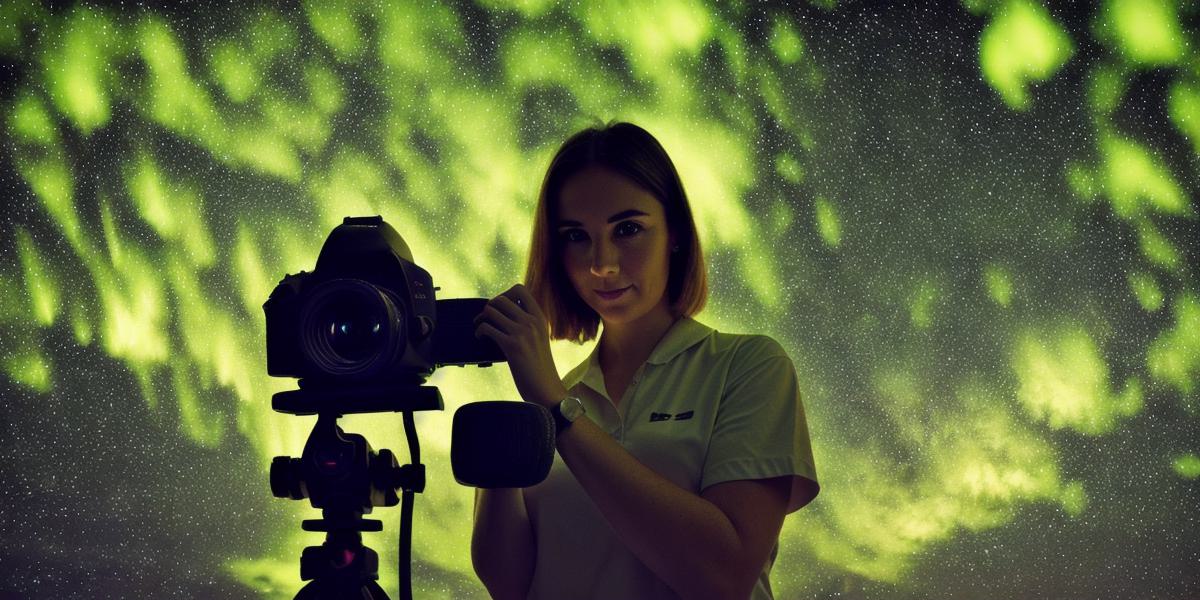
Glow-in-the-dark objects have a magical quality that can be captured in stunning photographs with a little creativity and knowledge. This guide will walk you through the steps to take perfect glow-in-the-dark pictures.
First, understand how glow-in-the-dark materials work. They emit light when exposed to ultraviolet (UV) light, which is not visible to the human eye but can be captured by a camera’s sensor. Use a special type of flash or UV light source to bring out the best results.
Shoot in RAW format for greater flexibility when editing your images later on. We recommend using a high-quality camera with at least 8MP resolution for the best possible results.
Use a tripod or sturdy surface to prevent blurry images and a fast shutter speed (at least 1/500th of a second) to freeze the action and capture the light emitted by the glow-in-the-dark material.
Experiment with different types of lighting to enhance your photos, such as using blue LED lights for a dramatic effect or green or purple lights to add color.
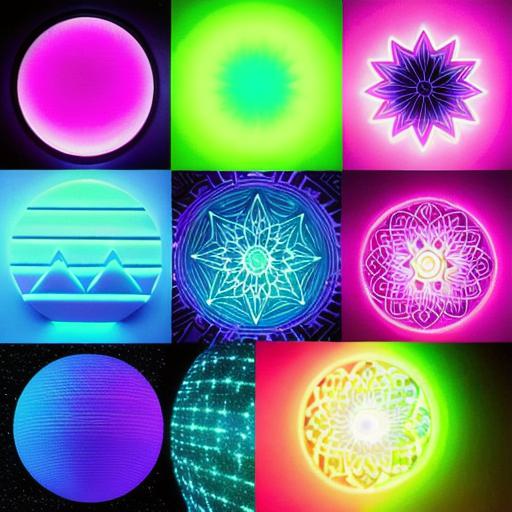
Get creative with your composition, arranging your glow-in-the-dark objects in interesting ways and using different angles to capture unique perspectives. Layer different types of glow-in-the-dark materials to create a mesmerizing effect.
Edit your photos using photo editing software like Adobe Lightroom or Photoshop to adjust the color balance and brightness of your images, bringing out the full potential of your glow-in-the-dark subject matter.
Taking glow-in-the-dark pictures requires experimentation and creativity, but with the right equipment and techniques, you can create stunning photos that will leave your audience amazed.