Rave valves are essential components of many industrial processes that can become dirty and clogged over time. To keep your process running smoothly, you should know how to clean rave valves effectively and efficiently. This step-by-step guide will show you how to disassemble, clean, reassemble, and test your rave valves.
Step 1: Disassemble the Valve – Start by removing any bolts or screws that hold the valve together and carefully remove each piece from the valve body.
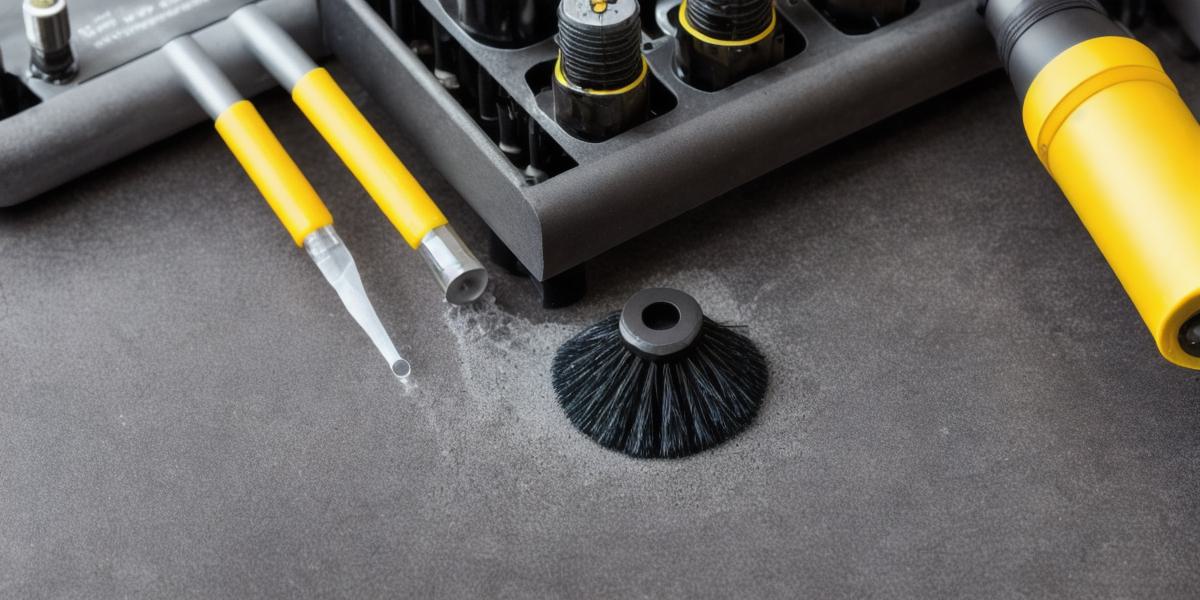
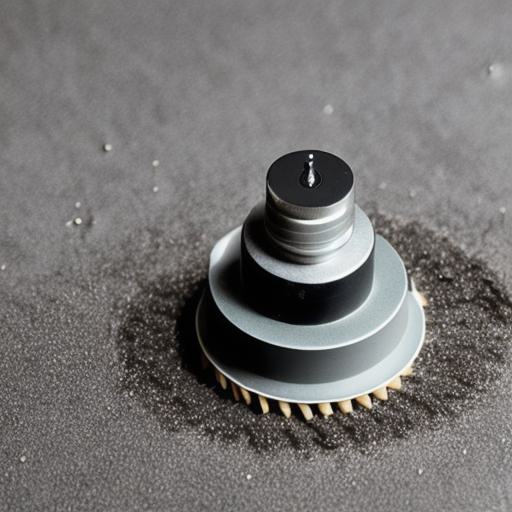
Step 2: Clean the Parts – Remove debris or foreign particles using a brush or compressed air, then use a degreaser or solvent to clean the valve components, paying special attention to any areas that are particularly dirty or clogged.
Step 3: Reassemble the Valve – Put the valve body back together and add the other components one by one, making sure everything is securely fastened and there are no leaks or issues.
Step 4: Test the Valve – Turn on the valve and let water flow through it, checking for any leaks or issues and ensuring the valve is operating smoothly.
FAQs – You should clean your rave valves every six months to a year, depending on the specific application and type of valve.
Always use a degreaser or solvent that is safe for the specific type of valve you have and follow the manufacturer’s instructions when using any cleaning product. Compressed air can be effective in removing debris but may not be sufficient for stubborn dirt or clogs.