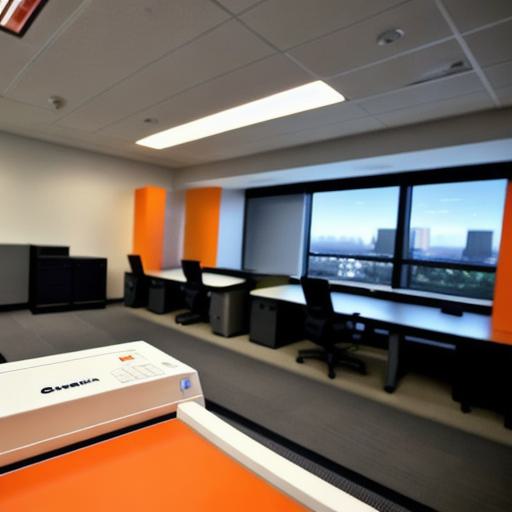
Introduction:
The Hinolta Maxxum 7000 is a powerful and versatile copier that has become a staple in many offices. But with so many features, it can be overwhelming for new users to navigate. In this guide, we’ll walk you through the basics of using the Hinolta Maxxum 7000, from setting up your device to troubleshooting common issues.
Setting Up Your Device:
Before you start using the Hinolta Maxxum 7000, it’s important to set it up properly. First, plug in your copier and turn it on. Then, press and hold the "Control" button until the copier beeps. This will enter the device settings menu. From here, you can select your paper type, printing quality, and other preferences.
Using the Copier:
Once you’ve set up your device, it’s time to start using it. To make a copy, simply place your document in the copier tray and select your desired settings. The Hinolta Maxxum 7000 can handle a wide range of paper sizes and types, so you can customize your print settings to suit your needs.
Troubleshooting Common Issues:
Like any piece of technology, the Hinolta Maxxum 7000 can experience issues from time to time. If you’re having trouble making copies, the first step is to check your paper jams. If there are no jams, try resetting the copier by pressing and holding the "Control" button until it beeps again.
Summary:
With its powerful performance and user-friendly features, the Hinolta Maxxum 7000 is an excellent choice for any office looking to upgrade their copying system. By following these simple steps, you can get the most out of your device and start making copies in no time.