If you want to personalize and add durability to your paintball gun, anodizing is the way to go. Here’s how to do it right.
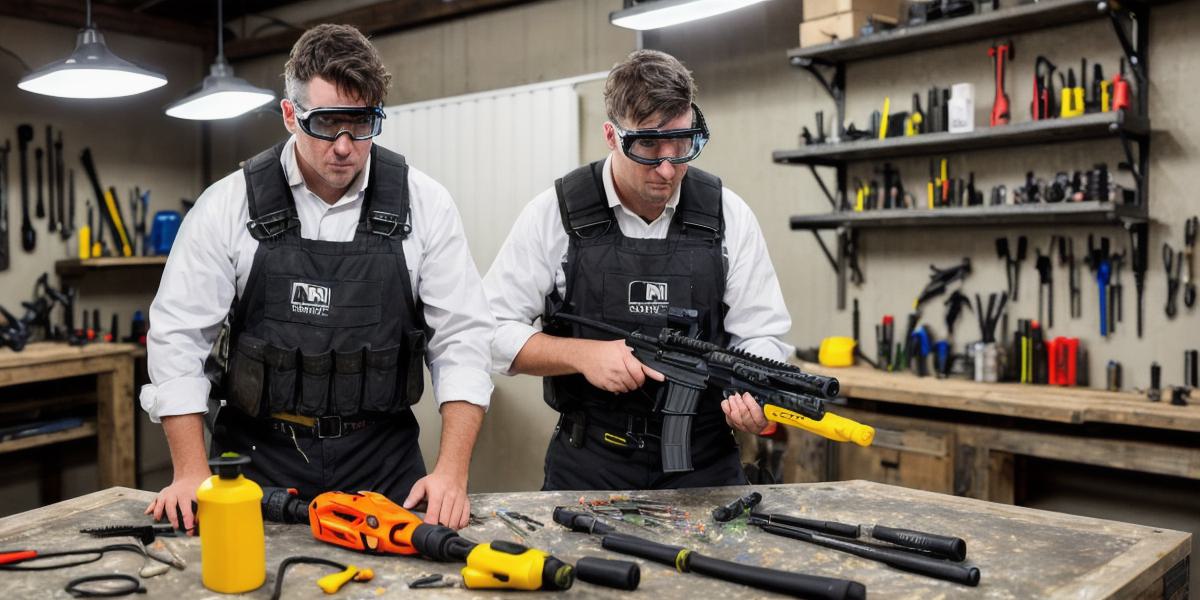
First, check with the manufacturer to make sure your paintball gun is compatible with anodizing. Then, gather your supplies, which include a clean workspace, a bucket or container filled with water and salt or sulfuric acid, clamps to hold your gun in place, gloves, goggles, and a respirator mask.
Submerge your paintball gun in the solution and let it soak for several hours or overnight. This will create a porous texture on the metal surface that’s perfect for anodizing. When you’re ready to anodize, connect your gun to the power supply and turn on the current, following the manufacturer’s instructions for guidance.
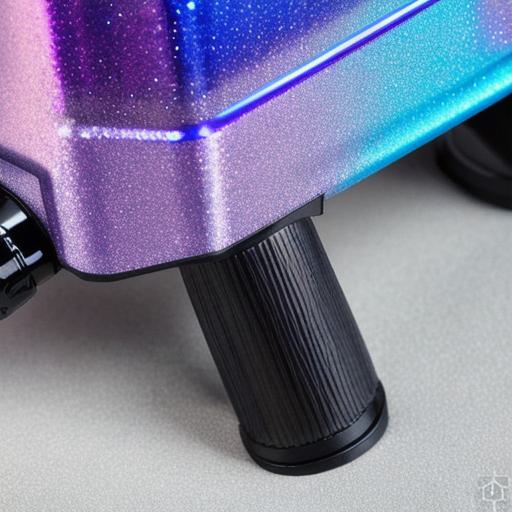
The amount of current will depend on the type of gun and desired finish. As the process progresses, you should see a beautiful iridescent finish developing on your paintball gun. This can take anywhere from a few minutes to several hours, depending on the conditions and specific type of anodizing.
After the process is complete, remove your gun from the solution, rinse it thoroughly with water, and dry it completely before handling or storing it. You may also want to use buffing compound to polish off any rough edges or imperfections.
Anodizing not only makes your paintball gun look amazing but also adds extra protection and durability to the metal surface. Plus, you can customize your gun to your heart’s content, making it truly one-of-a-kind. Be careful and follow safety guidelines to avoid any accidents or injuries while anodizing your paintball gun.