A rear diffuser is an important addition to any vehicle’s exhaust system, improving fuel efficiency and reducing emissions. This guide takes you through the process of building a custom rear diffuser for your car or truck. Follow these steps to create a lasting and eco-friendly solution.
Materials Needed:
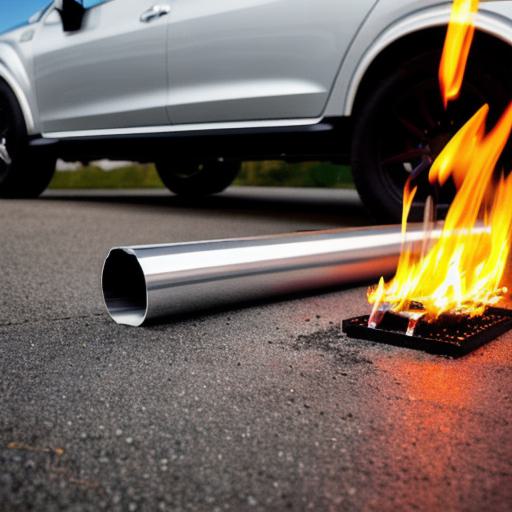
- 2 pieces of aluminum or steel tubing (matching vehicle exhaust diameter)
- Welder
-
Welding rods and clamps
-
Cutting torch (if needed)
- Angle grinder or sandpaper
- Paint or coating for protection
Steps:
- Cut the Tubing: Using a cutting torch, cut two pieces of tubing to fit your vehicle’s exhaust system. The length should be around 6-12 inches, depending on make and model.
- Weld the Tubes Together: Join the two pieces of tubing at one end using a welder, ensuring a strong joint that can withstand high temperatures and vibrations.
- Add Clamps and Fittings: Attach clamps and fittings to connect the diffuser to your vehicle’s exhaust system, following manufacturer instructions carefully to avoid leaks or damage.
- Test the Diffuser: Drive your vehicle on various roads and surfaces to test the diffuser for vibrations, rattles, or leaks. Make adjustments as needed.
Benefits:
A rear diffuser can improve fuel efficiency and reduce emissions, making it an eco-friendly choice for your car or truck. Customization allows for a solution that fits your specific vehicle’s exhaust system, providing optimal performance and protection.