Rubber mulch is a popular choice for landscaping and playground surfaces due to its durability, safety, and low maintenance. However, applying rubber mulch can be a daunting task if you’re not familiar with the process. In this guide, we’ll walk you through the steps of how to apply rubber mulch.
Step 1: Preparation
Before applying rubber mulch, it’s important to prepare the surface properly by removing any debris or existing materials, leveling the ground, and ensuring good drainage. If installing in a playground, ensure the surface is flat and free of sharp edges.
Step 2: Measure and Cut
Once the surface is prepared, measure and cut your rubber mulch to size, typically using rolls that are 36 inches wide by 50 feet long. Determine how many rolls you’ll need by multiplying the length of the area by 2.5.
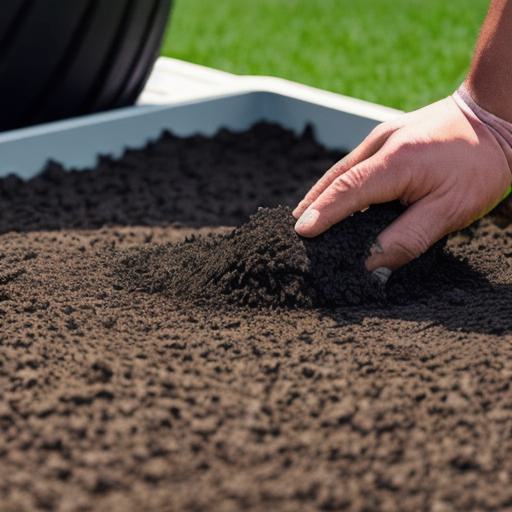
Step 3: Installation
Place a roll in the center of the area and work outward from the center, overlapping each layer slightly as you go. Ensure the edges are secured and there are no gaps or wrinkles. Trim the edges to fit perfectly if necessary.
Step 4: Maintenance
Rubber mulch requires minimal maintenance once installed. Clean regularly with a hose or pressure washer to remove dirt, debris, and contaminants. Repair any holes or tears immediately to prevent further damage.