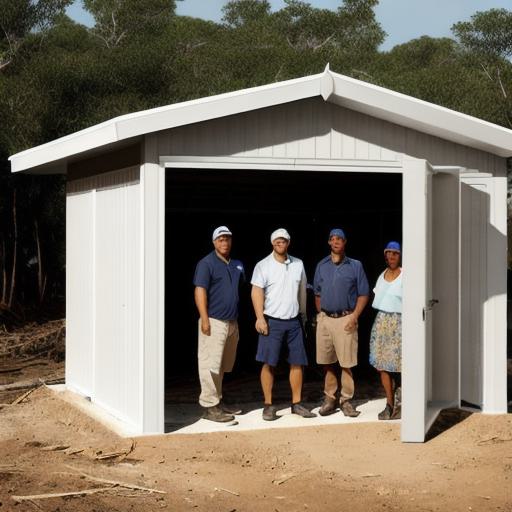
Building an Anderson shelter is a quick and easy way to create a safe and effective shelter in any disaster-prone area. All you need are 80 stakes or wooden dowels, four sheets of corrugated steel, aluminum, or PVC piping, tarps or plastic sheets, and rope or wire to secure the shelter.
Here’s how to build it:
- Clear a large area for your shelter and stake out four corners using the stakes or wooden dowels. Make sure they are level and about 6-8 feet apart.
- Lay down one sheet of corrugated steel or piping on the ground, securing it with rope or wire. Repeat this step three more times, stacking the sheets on top of each other.
- Cover the stacked sheets with a tarp or plastic sheet and secure it with rope or wire so that it covers the entire shelter from top to bottom.
- Use the fourth sheet of corrugated steel or piping to create an entranceway or door, making sure it is sturdy and secure.
- To make your shelter more comfortable, add insulation such as dry leaves, grass, or sand on the floor and walls. You can also use branches or sticks for a makeshift bed.
An Anderson shelter can last anywhere from a few days to several weeks, depending on the materials used and weather conditions. It’s important to maintain it properly to ensure its longevity. If your shelter floods, try to get to higher ground as quickly as possible or build a raft or boat with branches or leaves to help you float away from the water. Building an Anderson shelter is an excellent way to survive in the wilderness or during an emergency situation.