Introduction
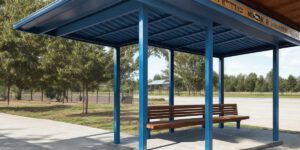
Building a school bus stop shelter can help keep children safe and comfortable while they wait for the bus, especially during bad weather. This guide will walk you through the steps of building a functional and visually appealing shelter.
Step-by-Step Guide to Building a School Bus Stop Shelter
- Determine the size and location of the shelter: Choose an area with good visibility for both drivers and pedestrians, and ensure it’s big enough to accommodate multiple children comfortably.
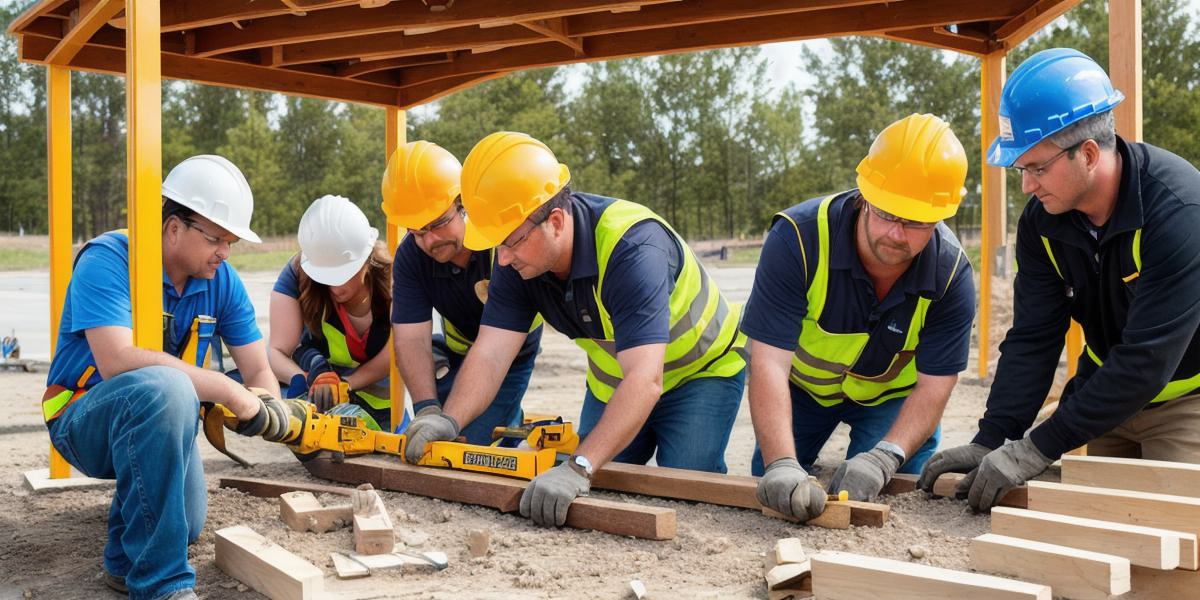
- Gather materials: Lumber, nails or screws, bolts, a roof, and any other materials required for your chosen design.
- Assemble the frame: Use lumber and nails or screws to build a sturdy frame that can support the weight of the roof and other materials.
- Add the roof: Choose a suitable material for the roof, such as metal, wood, or recycled plastic, and attach it securely to the frame.
- Finish the shelter: Add any additional features like benches, lighting fixtures, or other amenities, then paint or stain the shelter to make it more appealing.
Conclusion

Building a school bus stop shelter is a rewarding project that promotes safety and comfort for children waiting for the bus. Follow these simple steps, prioritize safety, and consult local building codes and regulations before starting your project.