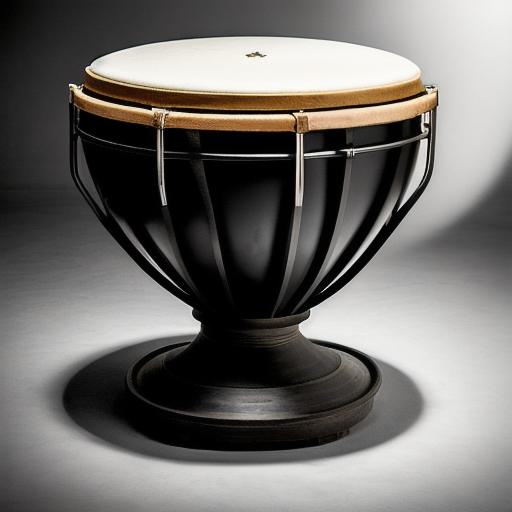
This article will guide you through the process of changing a timpani head, including materials needed and steps to follow.
Materials Needed
- New timpani head
-
Drum key
-
Rubber mallet
- Towel or cloth to protect the surface
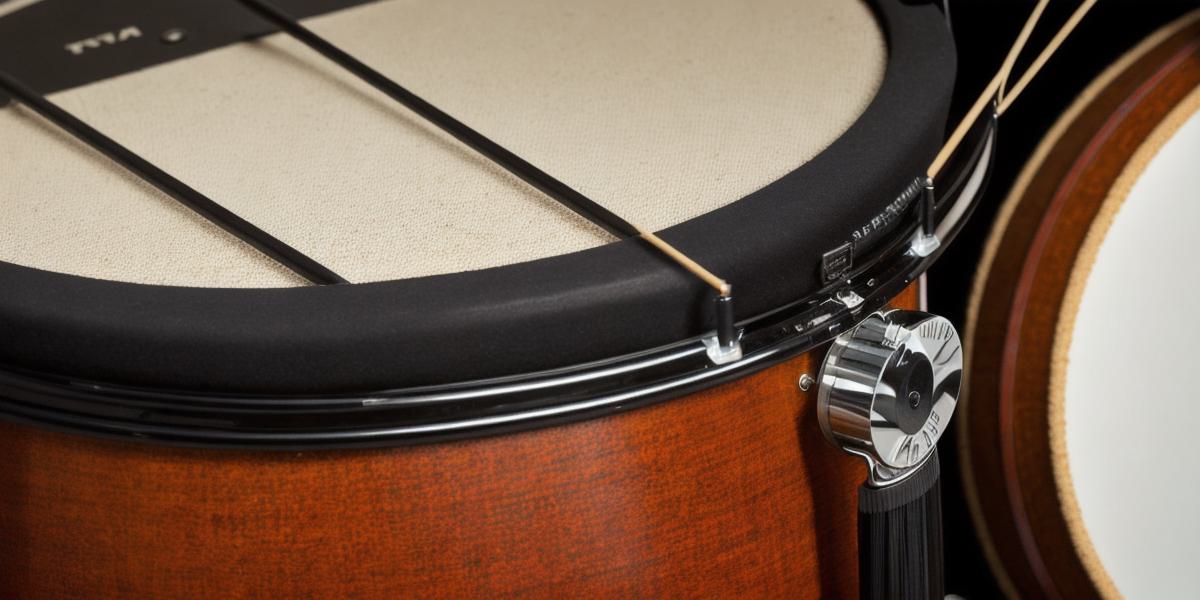
Step 1: Remove the Old Head
Loosen the tension rods with a drum key and carefully lift off the old head. Keep it in good condition for reuse later.
Step 2: Clean the Drum
Clean the drum thoroughly to remove any dust or debris that may have accumulated over time. Wipe down the entire surface, including tension rods and cymbal plate.
Step 3: Install the New Head
Tighten the tension rods with a drum key until they are snug against the new head. Carefully place the new head onto the drum, making sure edges align properly. Tighten the rods again until secure.
Step 4: Test the New Head
Hit the drum with a rubber mallet and listen for any unwanted sounds or vibrations.
If everything sounds good, the new timpani head is ready to go!
FAQs
Can I reuse the old head?
Yes, clean it thoroughly and store it away for later use.
How often should I replace my timpani head?
The frequency will depend on how frequently you use it and its condition. Check tension rods regularly and replace if loose or damaged.
What tools do I need to change a timpani head?
A drum key, rubber mallet, and towel or cloth to protect the surface are all that’s needed. Some musicians may also use a screwdriver or pliers for advanced repairs.