Changing your Eureka central vacuum bag regularly is essential for efficient cleaning. This article provides you with 5 simple steps to change your central vacuum bag easily.
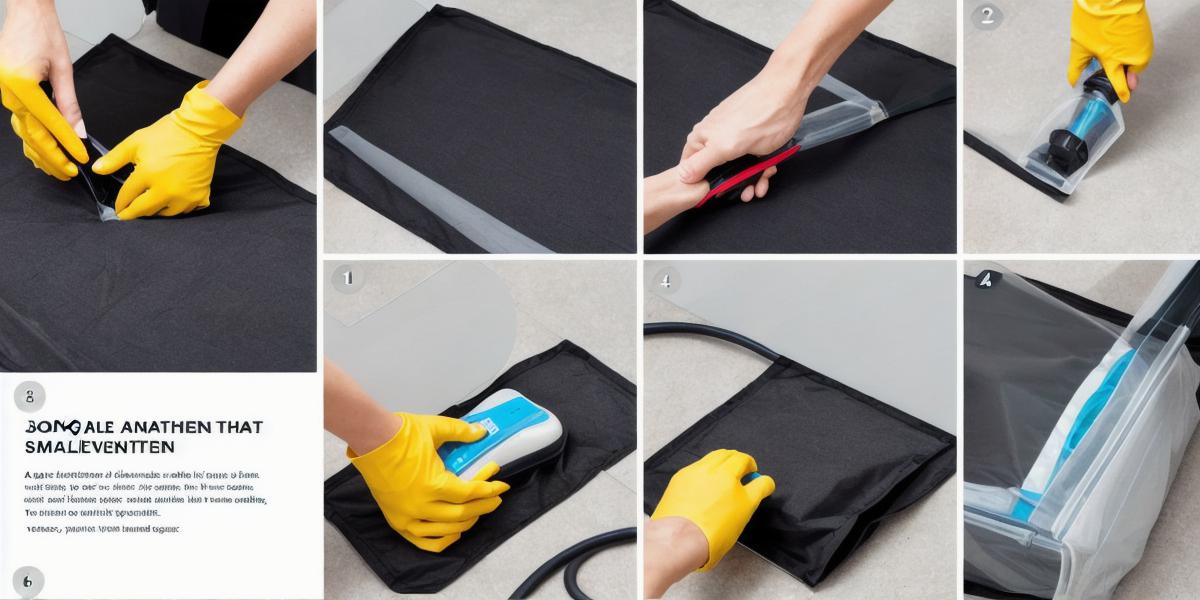
Follow these steps:
- Turn off the vacuum cleaner, unplug it and wait for it to cool down completely.
- Empty the canister by opening the top and disposing of the old bag in a trash receptacle.
- Take out the new bag from the packaging and insert it into the canister securely.
- Connect the hose to the canister and make sure it’s fastened securely.
- Test the vacuum cleaner to ensure it works properly. If you encounter any issues, consult the owner’s manual for troubleshooting steps.
Tips:
- Change your central vacuum bag every 3 months or as needed.
- Follow the manufacturer’s instructions when changing your vacuum cleaner bag.
- Seek professional assistance if you’re unsure about changing your central vacuum bag.
FAQ:
Q: How often should I change my central vacuum bag?
A: Change it every 3 months or as needed for optimal performance.
Q: Can I reuse my central vacuum bag?
A: No, it’s not recommended to reuse a central vacuum bag as it can affect the machine’s efficiency and may damage the bag.
Q: What should I do if my central vacuum bag won’t come out?
A: Unplug the vacuum cleaner and wait for it to cool down before attempting to remove the bag again. If the problem persists, seek professional assistance.