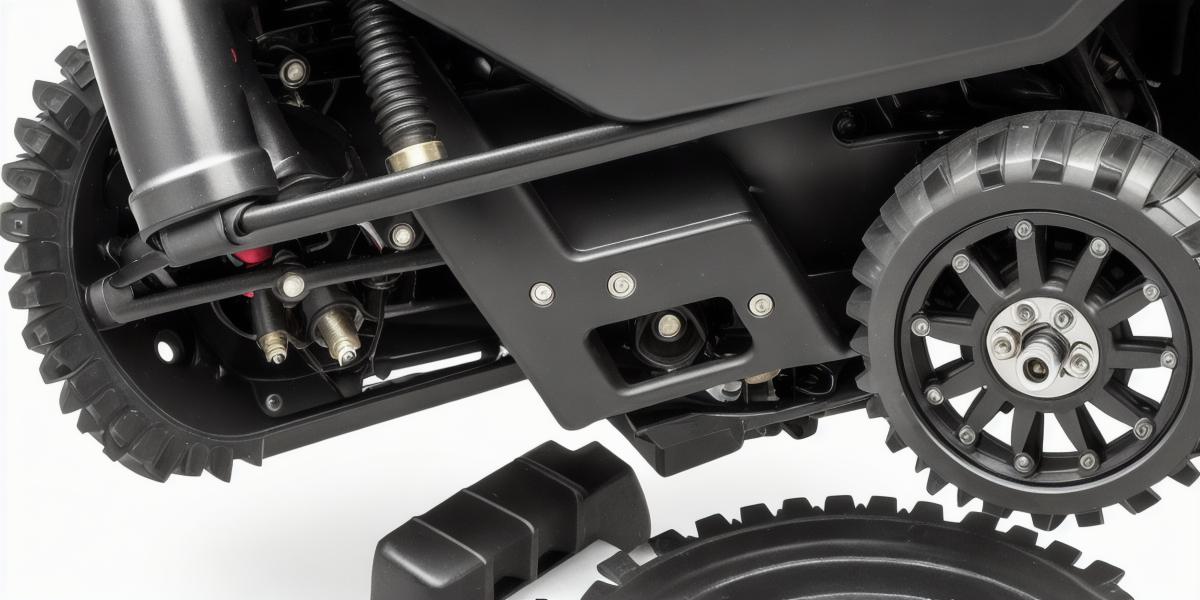
Changing clutch weights on an Arctic Cat snowmobile is a crucial task that requires careful attention to detail and the right tools. By following these five simple steps, you can optimize your experience and ensure a successful outcome.
Here’s how to do it:
- Gather all necessary tools, including a socket wrench set, torque wrench, and new clutch weights that are compatible with your snowmobile model.
- Remove the clutch cover by loosening the bolts with a socket wrench and pulling it off, setting it aside for later use.
- Loosen the bolts holding the old clutch weights in place with a socket wrench and remove them, keeping track of which weight goes where.
- Install the new clutch weights by reversing the process, placing them in their respective locations and tightening the bolts with a socket wrench. Use a torque wrench to ensure the bolts are tight enough to prevent the weights from coming loose.
- Replace the clutch cover, aligning it properly and tightening the bolts with a socket wrench.
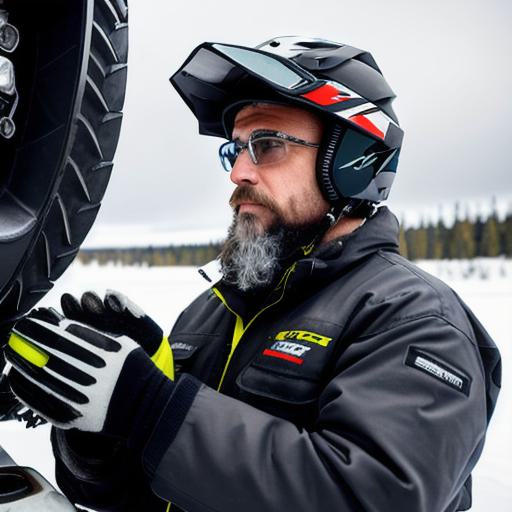
It’s essential to check your clutch weights every 10-20 hours of use and replace them if necessary to avoid damage to your snowmobile’s transmission system. While you can change the clutch weights yourself, it’s always a good idea to consult your owner’s manual or contact an Arctic Cat dealer for guidance.