Introduction:
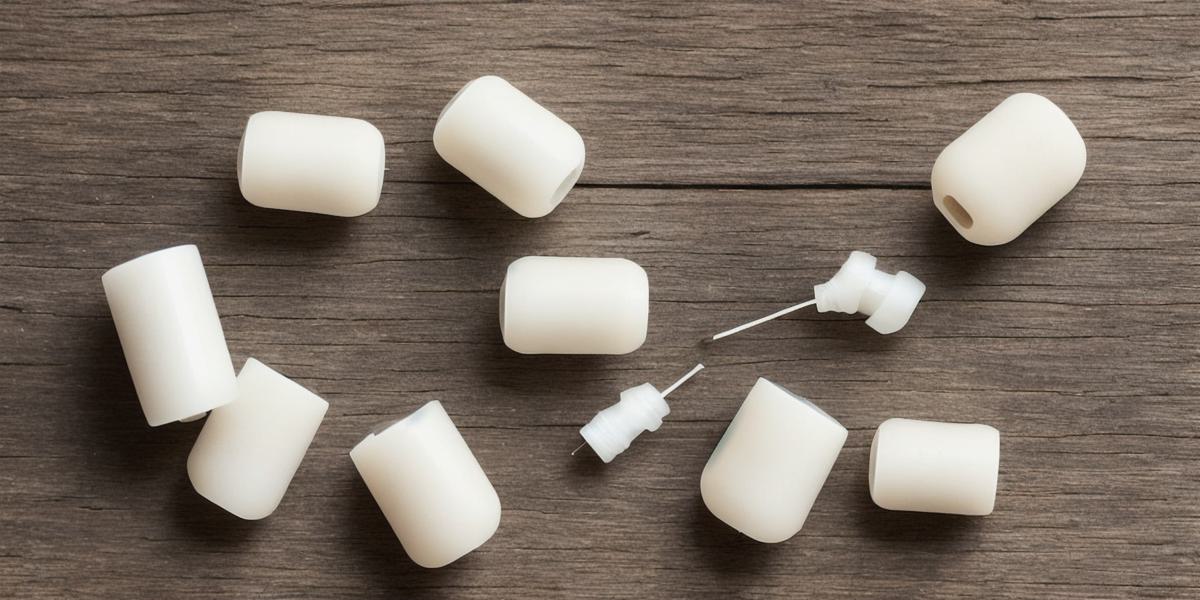
Wooden earplugs are a popular choice for their natural materials and effective noise-blocking capabilities. However, it’s crucial to clean them regularly to maintain good hygiene and prevent infections. This guide outlines the steps to clean wooden earplugs effectively.
Step 1: Gather supplies
Before cleaning wooden earplugs, make sure you have alcohol wipes or rubbing alcohol in a spray bottle, a soft-bristled toothbrush, a bowl or container, and dry cotton pads or a clean cloth on hand.
Step 2: Remove earplugs from ears
Remove the wooden earplugs from your ears and lay them flat on a clean surface.
Step 3: Clean outside of earplugs
Clean the outside of the earplugs with alcohol wipes or rubbing alcohol, paying extra attention to any crevices or grooves where dirt and debris may have accumulated.
Step 4: Clean inside of earplugs
Gently scrub the inside of the earplugs using a soft-bristled toothbrush and circular motions to remove any dirt, wax, or debris that may be stuck in the earplugs. Be careful not to damage the wooden material.
Step 5: Rinse and dry earplugs
Rinse the earplugs under clean running water to remove any remaining cleaning solution. Dry them completely using a dry cotton pad or cloth.
Step 6: Store earplugs properly
Store the clean and dry wooden earplugs in a clean, dry container or pouch to prevent bacterial growth. Avoid storing them in a moist environment.
Summary:
Cleaning wooden earplugs is essential for maintaining good hygiene and preventing infections. Following these simple steps will keep your wooden earplugs looking and feeling their best. Always clean your earplugs after each use and store them properly to prevent bacterial growth.