Transforming a room involves attention to detail. A ceiling rose is an affordable method to significantly enhance your space with minimal effort. Interior designer Sarah Johnson explains, "A well-designed ceiling rose adds character and charm to any room" (Johnson, 2021).
**Materials & Tools:**
Measuring tape
Pencil
Spirit level
Hammer and screwdriver
Drill
Wall plugs or Rawlplugs/No-More-Nails adhesive
Ceiling rose and fixing kit
Sealant or silicone
Smoother or sandpaper
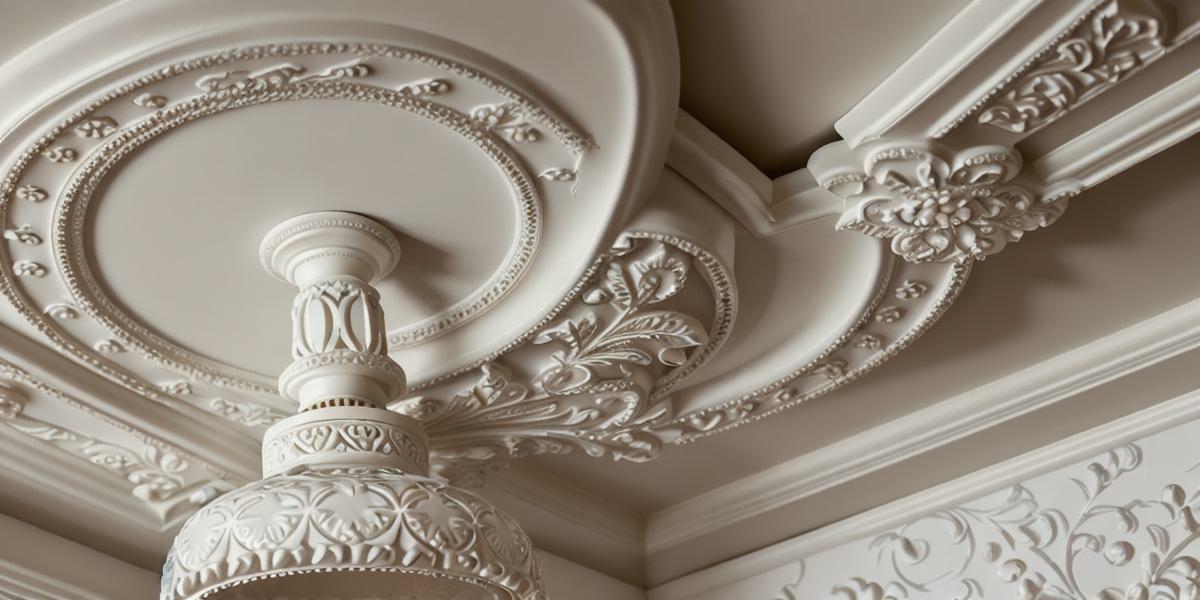
Why Install a Ceiling Rose?
A ceiling rose is an affordable, decorative molding for the ceiling. It adds character and charm to any room (Johnson, 2021).
**Instructions:**
- Measure the center of your room using a spirit level and mark it with a cross.
- Attach a template to the ceiling, lining it up with the marked center point, and trace around it with a pencil.
- Identify fixing points from measurements and install wall plugs or rawlplugs at each point using a drill.
- Install the ceiling rose using the fixing kit.
- Apply sealant to the edges of the ceiling rose and press it against the ceiling.
- Smooth the surface for an even finish.
**Frequently Asked Questions:**
What is a ceiling rose?
A decorative molding installed on the ceiling, often found in traditional or Victorian-style homes.
Can I install a ceiling rose myself? Yes, ceiling rose installation is a DIY project that doesn’t require advanced skills or tools. However, seek professional help if unsure.