Materials Needed:
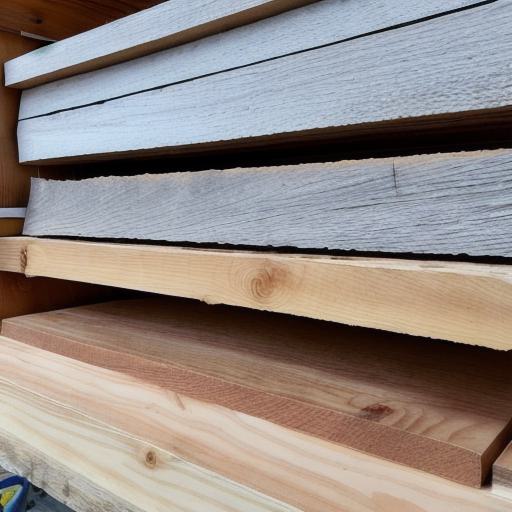
4×8 feet of 2×4 or similar lumber
1×6 feet of pine or cedar board for the seat
1×2 feet of pine or cedar board for the runners
20 bolts and screws
2 pieces of 3/8 inch threaded rod
4 wheel kits
Ice pick or chisel
Saw
Drill and drill bits
Tape measure
Square or straight edge
Sandpaper
Paint or other protective coating (optional)
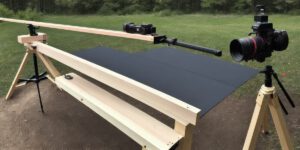
Steps to Build a Kick Sled:
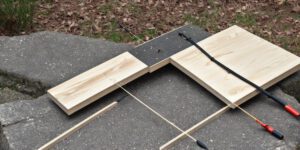
- Cut the Lumber: Using your saw, cut the 4×8 feet of lumber into two 2×4 pieces for the runners and two 2×4 pieces for the frame.
- Assemble the Frame: Use screws and bolts to attach the four 2×4 pieces together, forming a rectangle. Make sure the runners are flush with the bottom of the frame.
- Attach the Seat: Cut the 1×6 feet of pine or cedar board into two pieces that fit on top of the frame. Use screws to attach the seat to the frame.
- Add the Wheels: Attach the four wheel kits to the bottom of the runners using nuts and bolts. Make sure the wheels are tightened securely.
- Sand and Finish: Use sandpaper to smooth out any rough edges or splinters. If desired, paint or apply a protective coating to protect from moisture and damage.
Tips for Building a Kick Sled:
- Choose High-Quality Materials: Make sure to use high-quality lumber that can withstand harsh winter weather.
- Use the Right Tools: Invest in the right tools, such as a saw, drill, and screwdriver, to make the process easier and more efficient.
- Test and Adjust: Before using your kick sled, test it out by pushing on the runners. Make any necessary adjustments to ensure it’s running smoothly.
- Safety First: Wear protective gear, such as gloves and a helmet, while building and using your kick sled.