Creating a camera stabilizer called a "Jimmy Jib" is an effective way to capture smooth and steady shots even in challenging situations. A Jimmy Jib is a simple and affordable solution for stabilizing your camera, making it a great choice for amateur videographers and professionals alike. In this article, we will explore the materials needed, how to build a Jimmy Jib, and its benefits.
Materials Needed:
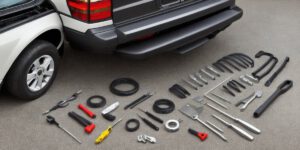
To build a Jimmy Jib, you will need a sturdy tripod, a small camera or smartphone, PVC pipe (about 1 inch in diameter), L-brackets, bolts and nuts to secure the brackets to the PVC pipe, screws, washers for mounting the tripod, and a small weight or sandbag to balance the camera.
Building the Jimmy Jib:
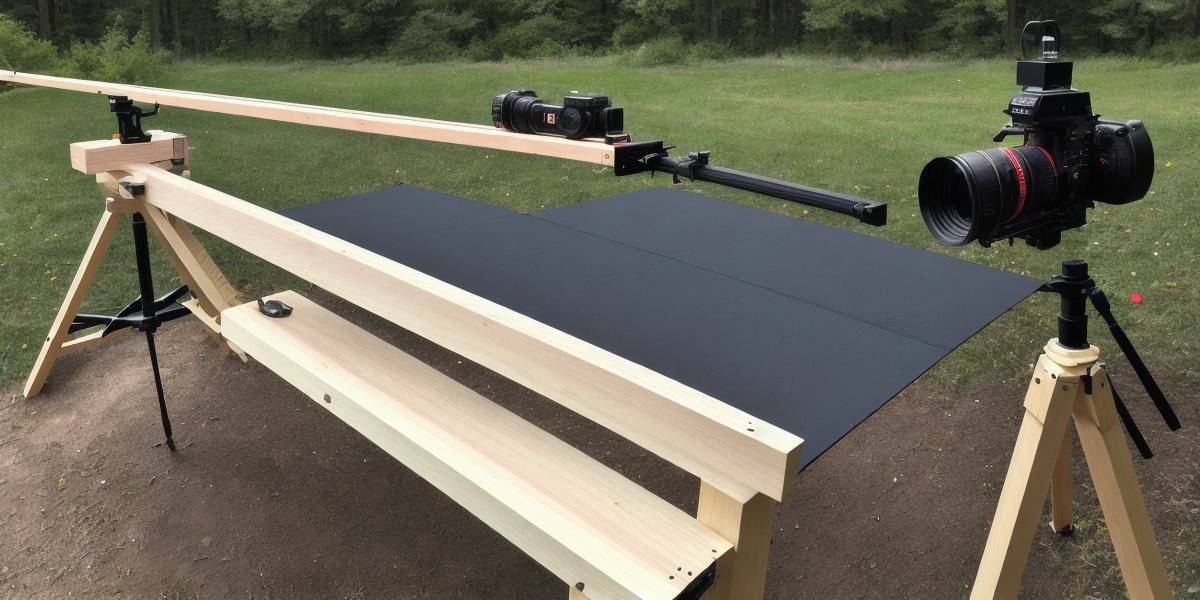
The first step is to cut two pieces of PVC pipe each about 10 inches long. Then, drill holes in one end of each piece just big enough for the bolts to fit through. Next, attach L-brackets using bolts and nuts. Once the L-brackets are attached, mount the tripod onto one end of the first piece. After that, attach the other end to the second L-bracket. Finally, balance the camera by placing a weight on the other end of the PVC pipe.
Benefits:
One of the main benefits of using a Jimmy Jib is that it allows you to capture smooth and steady shots even in challenging situations such as shooting handheld or in low light conditions. Additionally, it provides greater control over your camera’s movement, making it easier to create more precise shots. Moreover, a Jimmy Jib is an affordable and easy-to-build solution for stabilizing your camera.
Summary:
Creating a camera stabilizer called a "Jimmy Jib" can help you capture smooth and steady shots even in challenging situations. With just a few simple materials and some basic tools, you can build your own Jimmy Jib and enhance your video production skills. By following these steps and exploring the various benefits of using a Jimmy Jib, you can elevate your video productions to the next level.