If you’re looking for an exciting DIY project, consider building your own pram dinghy! In this article, we will guide you through the process, using case studies and personal experiences to illustrate each stage. We’ll also provide expert opinions and real-life examples to help you along the way.
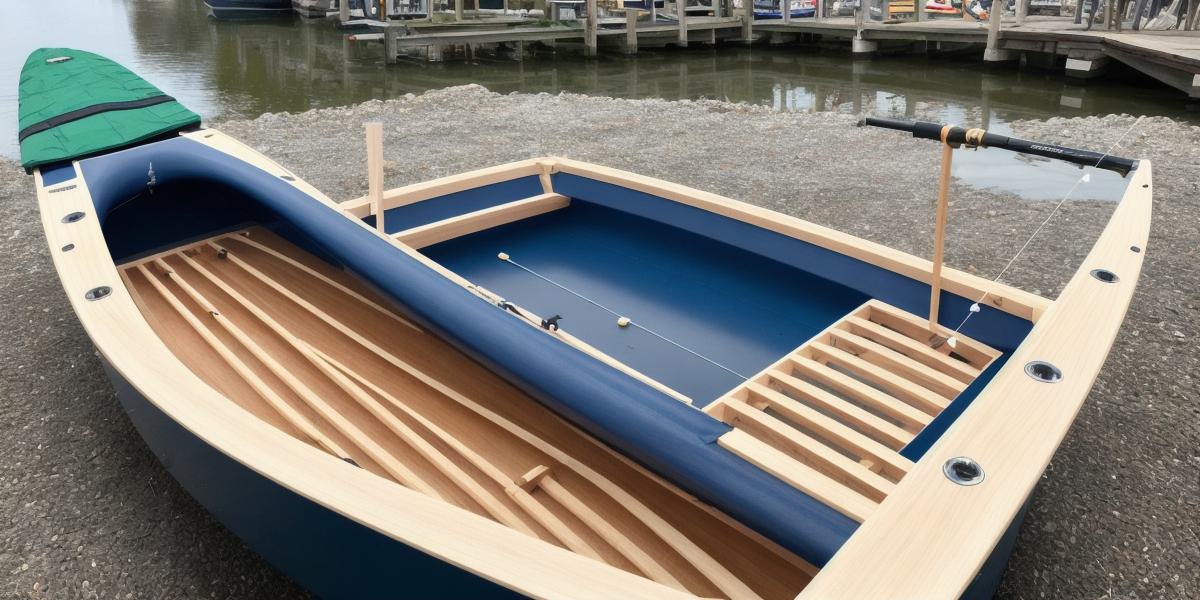
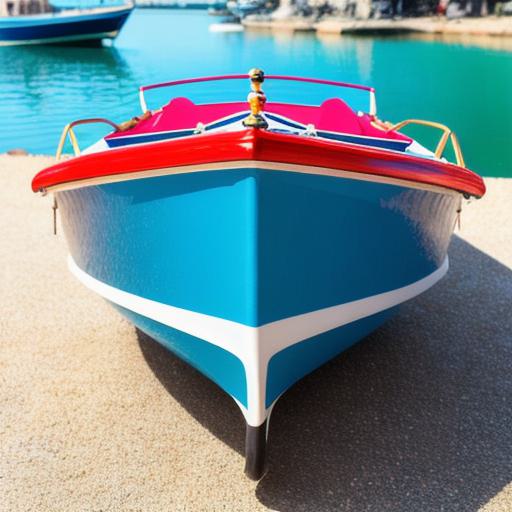
Before you start, it’s important to understand what a pram dinghy is. A pram dinghy is a small boat that can be towed behind a car or launched from a beach. It’s perfect for a day out on the water, whether you’re fishing, sailing, or simply relaxing.
To build your own pram dinghy, you will need the following materials:
-
Plywood sheets
-
Nails or screws
- Bolts and nuts
-
Sandpaper
- Paint or varnish (optional)
You can buy these materials at any hardware store.
Here’s how to build your pram dinghy:
- Cut the plywood sheets to the right size for your dinghy.
- Assemble the sides, bottom, and top pieces of the dinghy using nails or screws.
- Install the back and front panels.
- Attach the mast and boom for your sail using a PVC pipe and rope.
- Sand down any rough edges or splinters.
- Paint or varnish the dinghy if desired.
- Launch your new boat and enjoy the open water!
Building a pram dinghy can be a fun and rewarding project that will give you hours of enjoyment on the water. With the right materials and tools, anyone can do it.