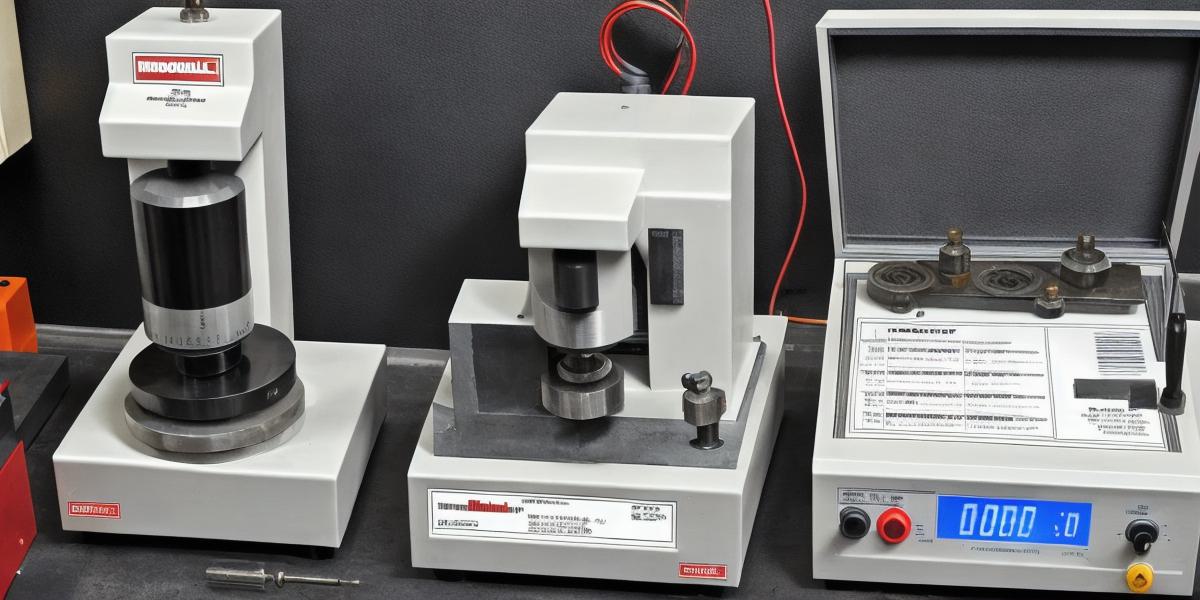
Introduction: As a construction manager, mechanic or anyone working with materials on a daily basis, it is essential to have an accurate tool to measure the hardness of various materials. The Rockwell hardness tester is one of the most popular tools for measuring the hardness of metals, plastics and other materials. However, calibrating this tool correctly is crucial to obtain accurate results.
The Importance of Calibration: Properly calibrated Rockwell hardness testers ensure that you are getting the correct readings when testing different materials. Without proper calibration, the results can be inaccurate and misleading, which could lead to costly mistakes or even safety hazards.
Choosing the Right Test Method: Choosing the right test method is crucial for accurate results. There are several test methods available for Rockwell hardness testers, and each has its own specific requirements, so it is essential to consult the manufacturer’s manual before using them.
Common Mistakes to Avoid: Common mistakes to avoid when calibrating a Rockwell hardness tester include not properly securing the test piece during testing and applying too much pressure when applying the load, which can damage the tool or even cause it to malfunction.
Summary: Calibrating a Rockwell hardness tester requires careful attention to detail.
Following our comprehensive guide will help ensure that your tool measures accurately and reliably, which will help you make informed decisions about your project’s success. Remember to always choose the right test method, avoid common mistakes and consult the manufacturer’s manual whenever necessary.