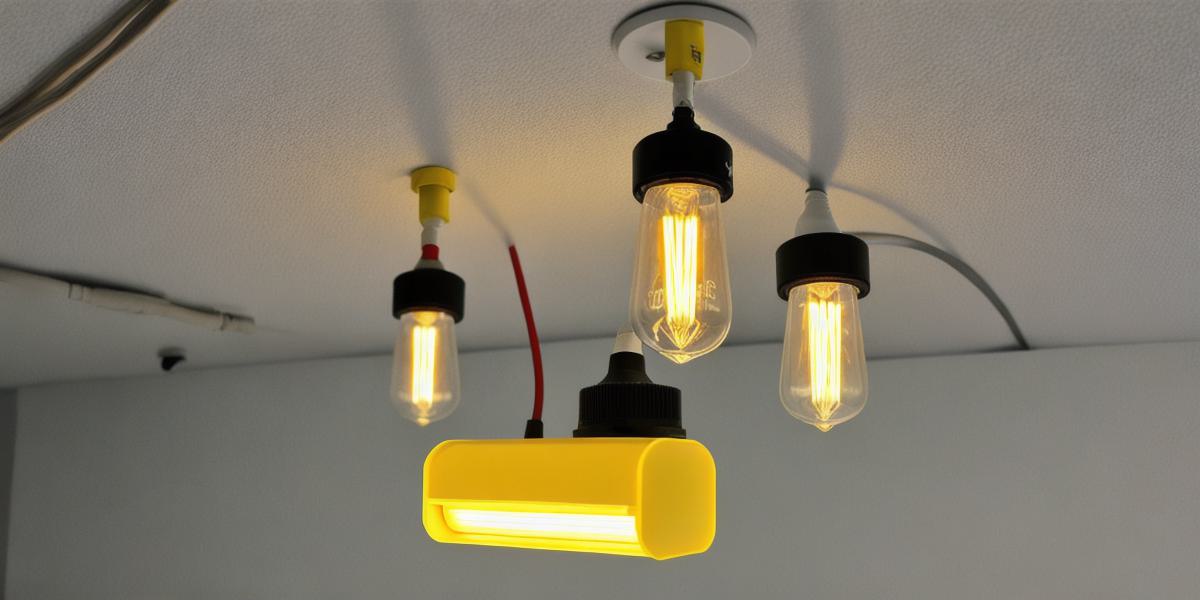

If you own a Yamitsu, changing a bulb when it burns out or flickers is essential for your home or office’s safety and functionality. Follow these simple steps to replace the bulb effectively and efficiently:
Materials Needed
-
Replacement Yamitsu UV bulb
-
Phillips screwdriver (size 000 or 2)
-
Safety glasses
-
Gloves
-
Ladder or step stool (if necessary)
Steps to Change a Yamitsu UV Bulb
- Turn off the power.
- Remove the cover plate and disconnect the wires.
- Remove the old bulb from its socket.
- Install the new bulb in the socket and reconnect the wires.
- Put everything back together and turn the power back on.
Tips for Changing a Yamitsu UV Bulb
- Wear safety glasses to protect your eyes from flying debris and UV light.
- Use gloves to protect your hands from hot bulbs and wiring.
- Take your time when disconnecting and reconnecting the wires to avoid making mistakes.
- Consult the manufacturer’s instructions or seek assistance from a professional electrician if you’re unsure about any step in the process.
FAQs
- Yes, anyone with basic tools and knowledge of electrical wiring can change a Yamitsu UV bulb.
- Changing a Yamitsu UV bulb usually takes less than 30 minutes with all necessary materials on hand.
- Using a broken bulb in a Yamitsu lamp can be dangerous as it can start a fire or release harmful fumes, and it’s important to replace the bulb for proper lighting and energy efficiency.