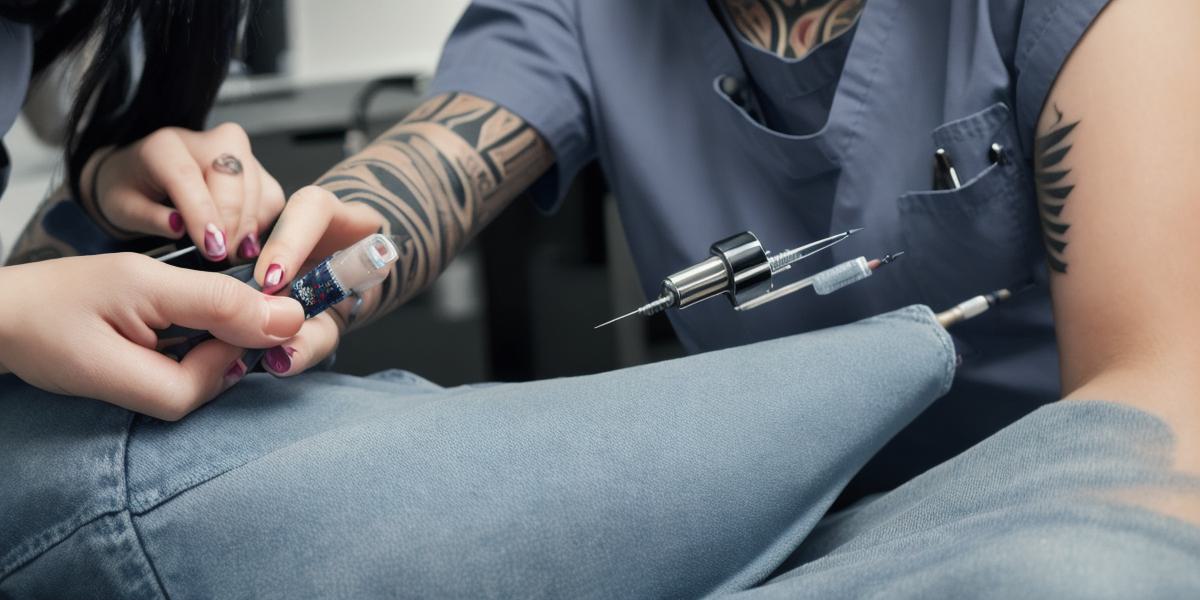
Tattoos have become increasingly popular in recent years as people seek to express their individuality and creativity through body art. While many people love the idea of having a permanent piece of art on their skin, some may be hesitant or uncomfortable with the idea of going under the needle. That’s where Dr. Numb comes in.
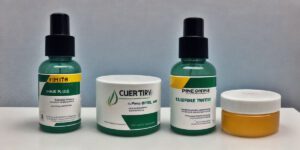
Dr. Numb is a topical anesthetic that can help to numb the skin and reduce discomfort during tattooing. It works by blocking pain receptors in the skin, allowing you to feel less sensation during the procedure. By using Dr. Numb, you can enjoy a more comfortable and enjoyable tattooing experience without sacrificing the quality of your tattoo.
To apply tattoos with Dr. Numb, follow these simple steps:

- Prepare the skin by cleaning and disinfecting it to prevent infection.
- Apply Dr. Numb to the skin, allowing it to dry for 10-15 minutes or as directed by the manufacturer.
- Once the anesthetic takes effect, you can begin tattooing slowly and carefully. If you feel any discomfort, stop immediately and reapply more anesthetic if necessary.
- After the tattoo is complete, clean the area with a mild antiseptic solution and cover it with a bandage to prevent infection and promote healing.
It’s important to note that while Dr. Numb can help to reduce discomfort during tattooing, it does not eliminate pain altogether. It’s also important to follow manufacturer instructions carefully and use a small amount of anesthetic to avoid numbness that lasts too long.
If you experience any complications after the tattoo, such as pain, redness, or swelling, seek medical attention immediately. Tattoos are considered a form of body modification and can carry potential risks, so it’s important to take all necessary precautions to ensure your safety and well-being.