A heat detector is an essential tool for ensuring your home or workspace is safe from fire and other hazards. Before you start using it, test it to ensure it’s functioning correctly. This article provides a step-by-step guide on how to test a heat detector effectively.
Choose the Right Heat Detector: There are various types of heat detectors available, including smoke detectors, ionization detectors, and photoelectric detectors. Each type works differently, so choose the right one for your needs.

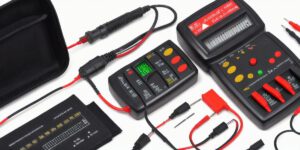
Test the Battery: Ensure the battery is functioning correctly by checking the voltage and replacing it if necessary.
Set off the Alarm: Set off the alarm by exposing it to a source of heat, such as a stove burner or an incense stick. The alarm should sound immediately, indicating that the heat detector is functioning correctly.
Check the LED Indicator: Most heat detectors have an LED indicator that changes color when exposed to heat. Check the LED indicator to ensure it’s functioning correctly. If the LED turns red or green, the heat detector is working correctly.
Clean and Maintain the Heat Detector:
Regular cleaning and maintenance are essential for ensuring your heat detector continues to function correctly. Dust and debris can accumulate on the sensor, reducing its sensitivity. To clean the sensor, use a soft brush or compressed air to remove any dirt or dust.
In conclusion, testing a heat detector is crucial to ensure it’s functioning correctly. By following these simple steps, you can ensure your heat detector is ready to protect you from fire and other hazards. Remember to choose the right type of heat detector, test the battery, set off the alarm, check the LED indicator, and clean and maintain the heat detector regularly.