Are you looking to add a touch of elegance and beauty to your calligraphy?
Look no further than spectrum noir markers!
These versatile markers are perfect for creating stunning, high-contrast designs that will leave a lasting impression. In this article, we’ll explore how to use spectrum noir markers to create beautiful calligraphy.
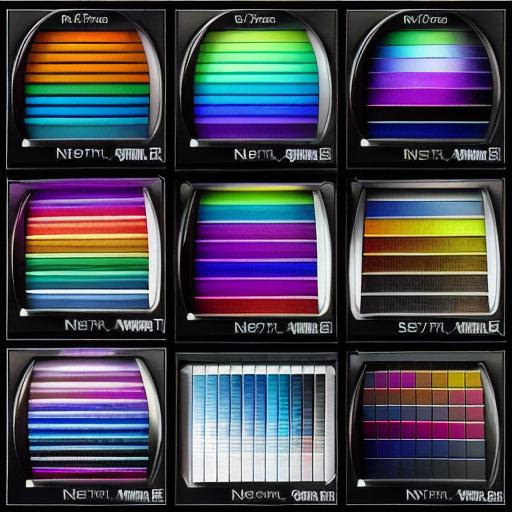
Spectrum Noir markers are available in a wide range of colors and shades, making it easy to find the perfect hue for your project. They also have different tip sizes, which allows you to create thin or thick lines depending on your preference.
One great thing about using spectrum noir markers is that they work well with a variety of surfaces.
You can use them on paper, cardstock, canvas, and even wood!
Just make sure the surface is smooth and free from any texture that might interfere with your writing.
To create stunning calligraphy with spectrum noir markers, start by choosing a beautiful, flowing font. Look for one that has a wide range of letters and characters, as this will allow you to create more complex designs. Once you have your font chosen, practice your lettering skills until you feel comfortable with the strokes.
When creating your calligraphy, don’t be afraid to experiment with different colors and shades of spectrum noir markers. Use a light color for the base lines, and add in darker colors for accents and highlights. You can also use multiple markers at once to create unique textures and patterns.
Finally, take your time and enjoy the process of creating beautiful calligraphy with spectrum noir markers. With practice and patience, you’ll be able to create stunning designs that will impress all who see them.