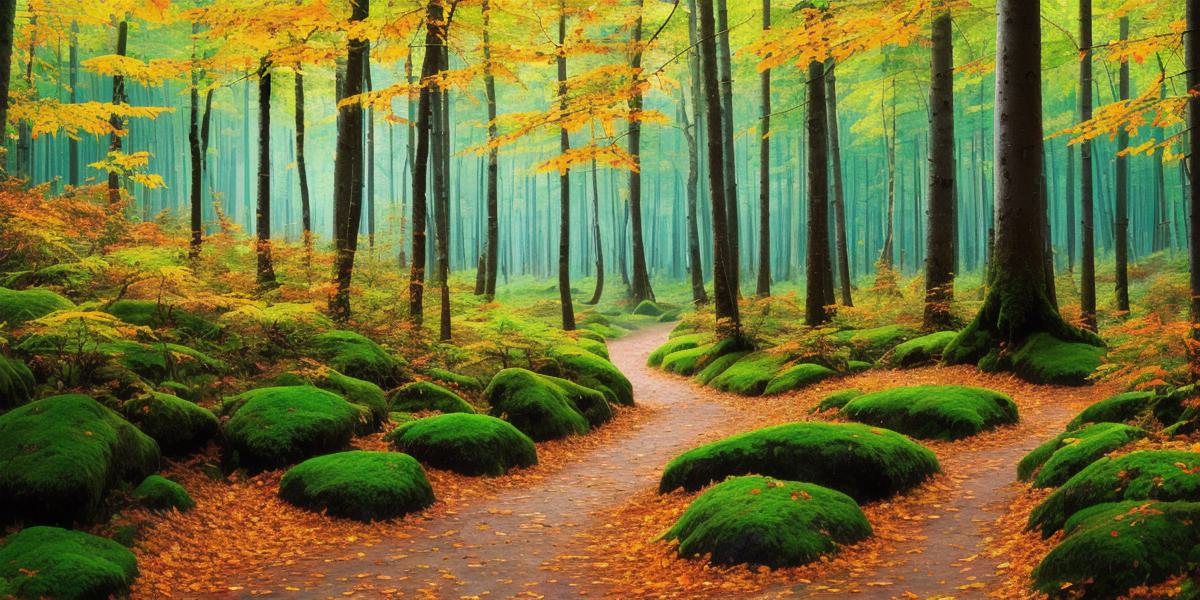
Discover the magic of nature and unleash your inner artist with this easy-to-follow taiga drawing guide! Taiga, also known as boreal forests, are some of the most beautiful and captivating landscapes on Earth. Let’s explore how to bring their essence to life through simple yet effective drawing techniques.
Heading 1: Gather Your Tools
Before we dive into the drawing process, make sure you have the essential tools: a pencil, an eraser, a blank sheet of paper, and an optional color pencil or paint set for shading and adding details.

Quote: “Art is not what you see, but what you make others see.”
– Edgar Degas
Heading 2: Sketching the Basics
Start by outlining the basic shapes of the taiga scene: trees, hills, and a few key landmarks. Remember, accuracy isn’t our goal—it’s about capturing the essence of the scene.
Experiment: Try drawing from different perspectives or adding unique elements to make your taiga drawing stand out!
Heading 3: Adding Details
Bring your drawing to life by adding details like tree branches, animal friends, and other fascinating taiga inhabitants. Don’t worry about perfection; focus on the joy of creating.
Expert Opinion: “Draw the trees first, for the trees are good and will protect you from harm.” – Japanese Proverb
Heading 4: Shading and Color
Bring depth and texture to your drawing by shading, using color or varying hues, and experimenting with different techniques.
FAQ: How long does it take to learn how to draw taiga?
Answer: There’s no set time for mastering taiga drawing; practice makes perfect!
Ending Thought: Embrace the journey of creativity, and let your imagination run wild as you explore the captivating world of taiga drawings.