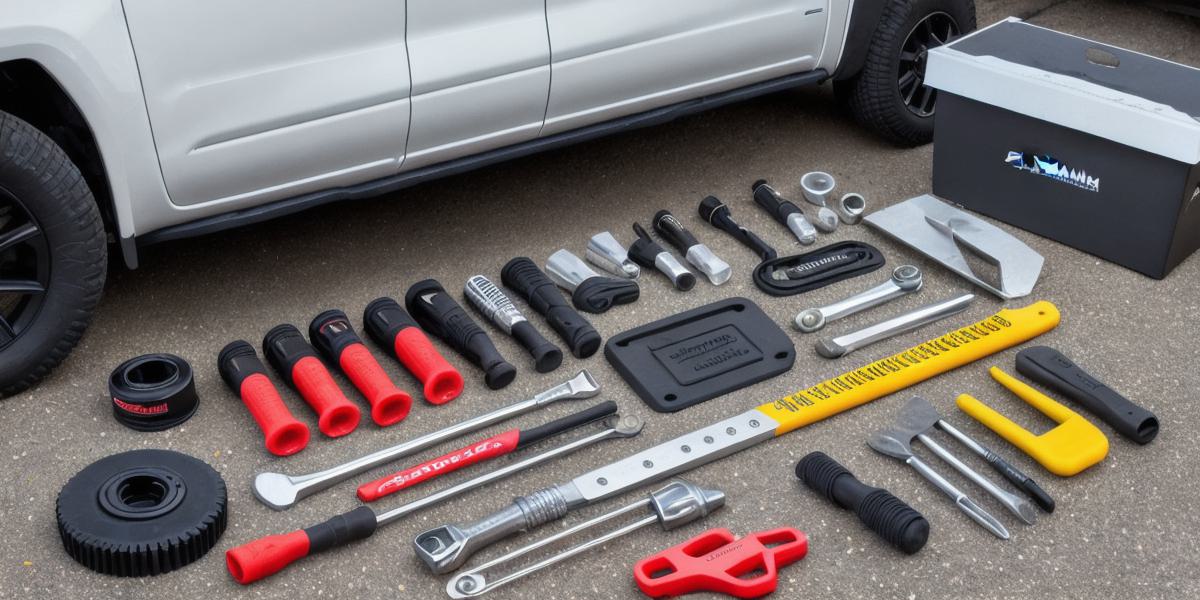
If you own a Chevrolet Silverado, you can change its pitman arm with the right tools and parts. This article provides step-by-step instructions to help you do it yourself. Before starting, make sure you have all necessary tools and parts, including a socket wrench set (1/2", 3/8", and 1"), an adjustable wrench, a torque wrench, a new pitman arm assembly, and a replacement timing chain guide. Double-check the compatibility of your new parts with your Silverado’s make and model before making any purchases.
Here are the steps to change your Silverado’s pitman arm:
- Locate the old pitman arm assembly: Look for a large bolt that holds it in place underneath the engine near the timing chain cover.
- Remove the old pitman arm assembly: Carefully remove the bolt with your socket wrench set and adjustable wrench, being careful not to over-tighten the bolts.
- Remove the timing chain guide: Using your socket wrench set, carefully remove the bolt that holds the timing chain guide in place.
- Install the new pitman arm assembly: Align the new pitman arm assembly with the existing holes in the engine block and tighten the bolts with your socket wrench set and adjustable wrench.
- Install the timing chain guide: Insert the new timing chain guide into its designated hole in the engine block and tighten the bolt with a torque wrench.

- Check the timing chain: Make sure there is no slack or misalignment after installing the new pitman arm assembly and timing chain guide.
Tips for successful pitman arm replacement include using a torque wrench when tightening bolts, being careful not to disturb any other parts of the engine, and consulting a mechanic or looking up instructions online if you’re unsure about anything.