Introduction:
Scuba diving is an exciting and rewarding activity that allows you to explore the underwater world. However, before you hit the water, it’s crucial to assemble your scuba diving equipment correctly. In this article, we will guide you through the process of assembling your scuba diving equipment step-by-step.

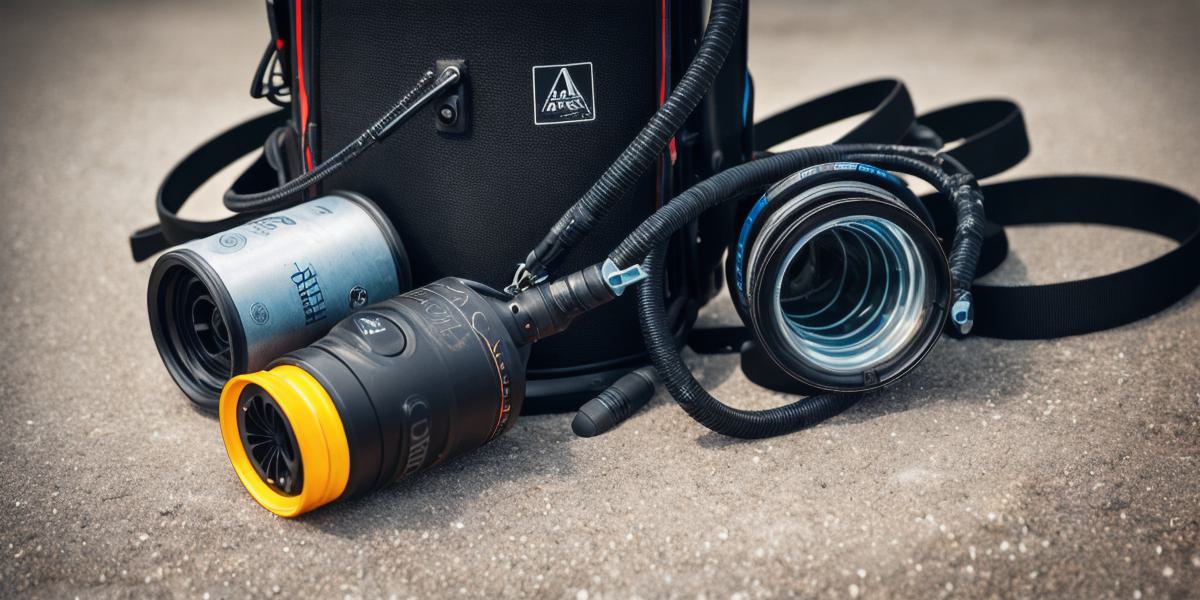
Assembling Your Scuba Diving Gear:
Step 1: Check all of your gear for any damage or wear and tear before use. Replace any broken or damaged parts immediately.
Step 2: Attach the regulator to the scuba tank, ensuring it’s securely fastened.
Step 3: Connect the buoyancy compensator device (BCD) to the regulator, making sure it’s properly inflated.
Step 4: Put on your scuba mask and snorkel, securing them in place with the straps.
Step 5: Insert the dive computer into your wetsuit pocket and ensure it’s properly attached.
Step 6: Adjust the airflow regulator to your comfort level and test the gear for any leaks or issues.
FAQs:
Q:
What if my scuba diving equipment doesn’t fit correctly?
A: It’s important to ensure that your scuba diving equipment fits properly to avoid discomfort and potential safety hazards. If your gear doesn’t fit, consult a professional for assistance.
Q:
How often should I service my scuba diving equipment?
A: Most scuba diving equipment requires regular maintenance and servicing to ensure it’s in good working condition. Follow the manufacturer’s recommendations for servicing your gear.
Summary:
Assembling your scuba diving equipment correctly is essential for a safe and enjoyable dive experience. By following these simple steps, you can ensure that your gear is properly assembled and ready for action. Remember to always prioritize safety when diving and consult a professional if you have any concerns or questions.