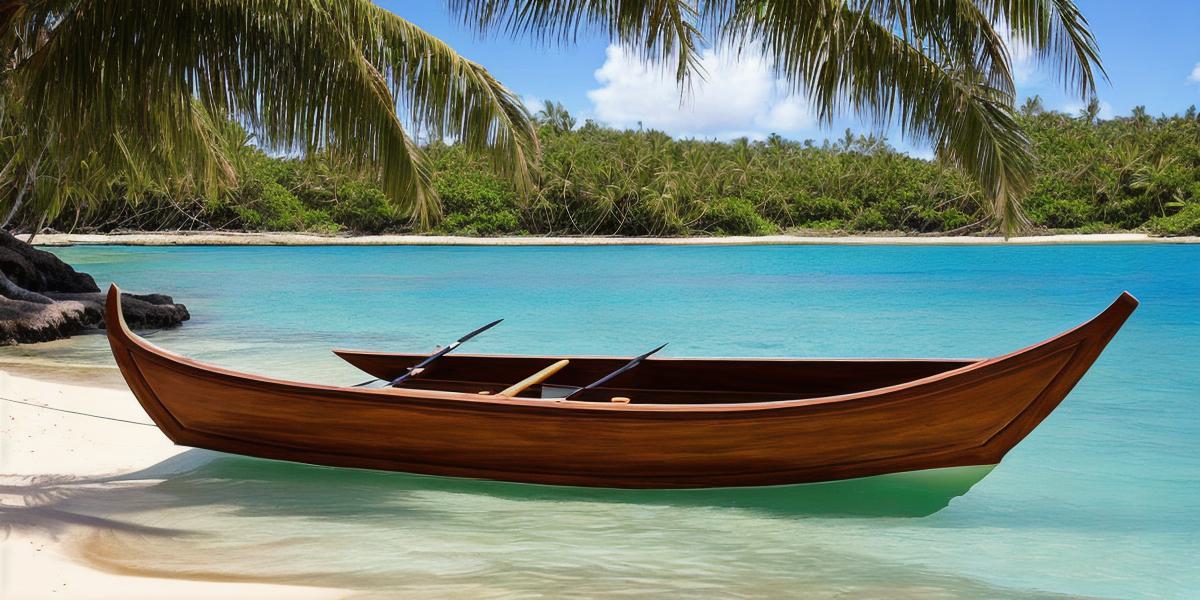
Building an outrigger canoe is a rewarding project that requires gathering specific materials and using certain tools.
Here’s a step-by-step guide:
-
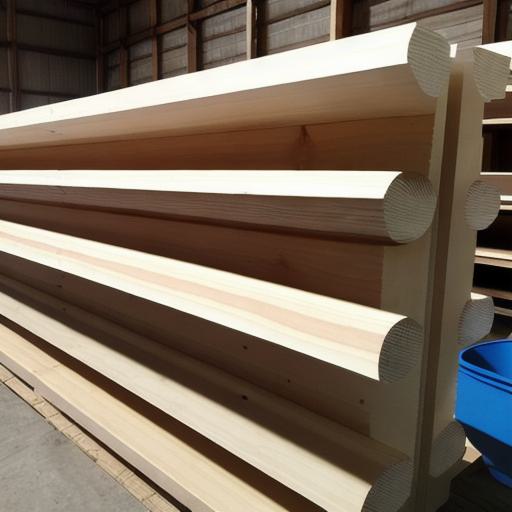
Gather materials such as 12ft long x 24in wide plywood sheets (3 sheets), 2x4in x 8ft lumber, 6x6in square dowels, bolts and nuts, screws and washers, epoxy resin and hardener, sandpaper and paint or varnish, paddles and life jackets.
-
Use a circular saw to cut the plywood sheets into specific dimensions: 24in x 36in for the floor, 24in x 48in for the sides, and 24in x 72in for the deck.
-
Construct the frame by cutting two pieces of lumber to 5ft long and placing them on their side. Screw three dowels into each lumber piece, creating an outrigger frame.
-
Attach the sides to the frame using screws and washers, ensuring the joint is strong enough to support the weight of the boat.
-
Build the deck by laying the third plywood sheet on top of the two sides, attaching it with screws and washers to create a secure deck.
-
Sand down any rough spots or splinters and apply epoxy resin to protect the wood from moisture and UV damage. After drying, paint or varnish the boat in your desired color.
- Install paddles and life jackets for safety, and add additional features such as a sail or fishing equipment if desired.
Overall, building an outrigger canoe is a rewarding project that requires careful attention to materials and techniques, but with the right tools and guidance, anyone can build their own boat. Always prioritize safety when on the water and respect the environment and other users of the waterway.