Preparation is crucial for capturing great hair images. Begin by ensuring clean, dry, and styled hair using high-quality products. Consider styling with blow-drying or curling for added texture and volume (Heading 1, Subheading 1).
Lighting significantly impacts the appearance of your hair in pictures. Natural light often yields best results, but artificial sources can also be effective. Experiment with different angles and distances to find flattering light (Heading 2, Subheading 2).
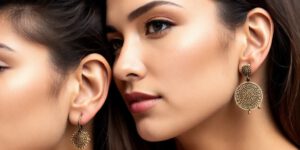
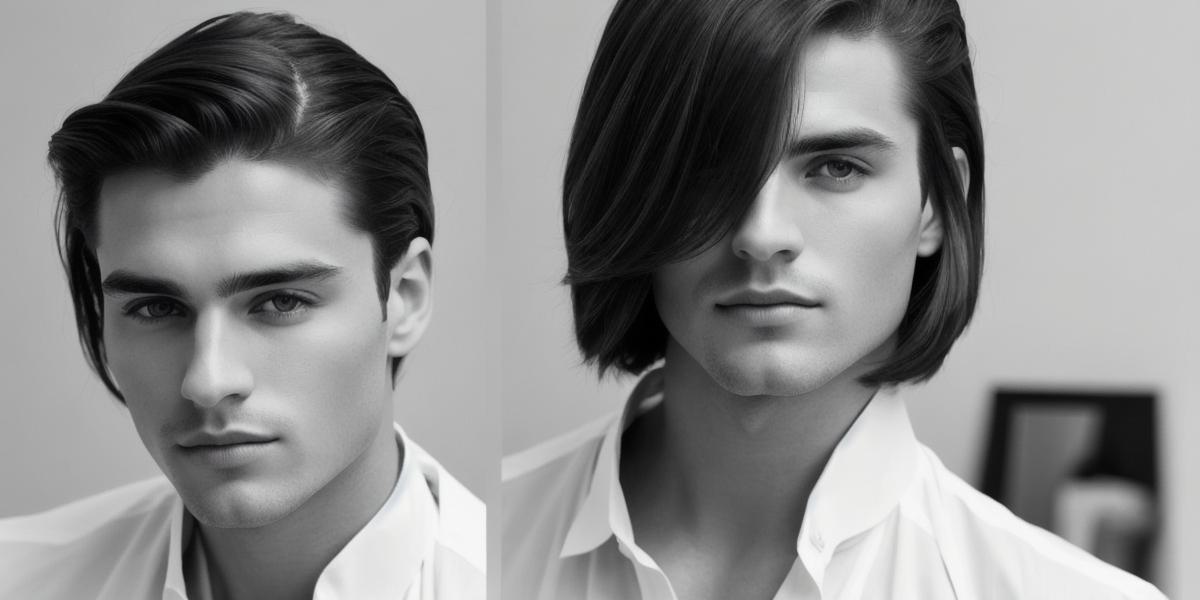
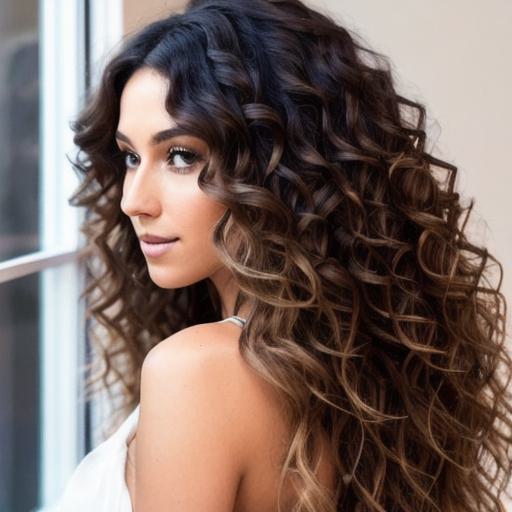
Angles offer various ways to showcase your hair. Side views reveal highlights or layers while overhead shots display bouncy curls or sleek straightness (Heading 3, Subheading 3). Editing tools like contrast and brightness adjustments can enhance colors and shine without over-editing (Heading 3).
Inspiration comes from celebrities and influencers who consistently deliver stunning hair images, such as Selena Gomez’s blonde locks or Kylie Jenner’s brunette bob (FAQs – Case Study).
FAQs:
- What’s the best angle for a hair picture? Experiment with different angles to find what flatters your hairstyle and face shape.
- How important is good lighting for a hair picture? Good lighting can significantly improve the appearance of your hair by showcasing its texture, shine, and colors.
- Can I edit my hair pictures on my phone?
Yes!
Popular photo editing apps offer tools to enhance selfies or hair pictures. Be mindful of not over-editing.