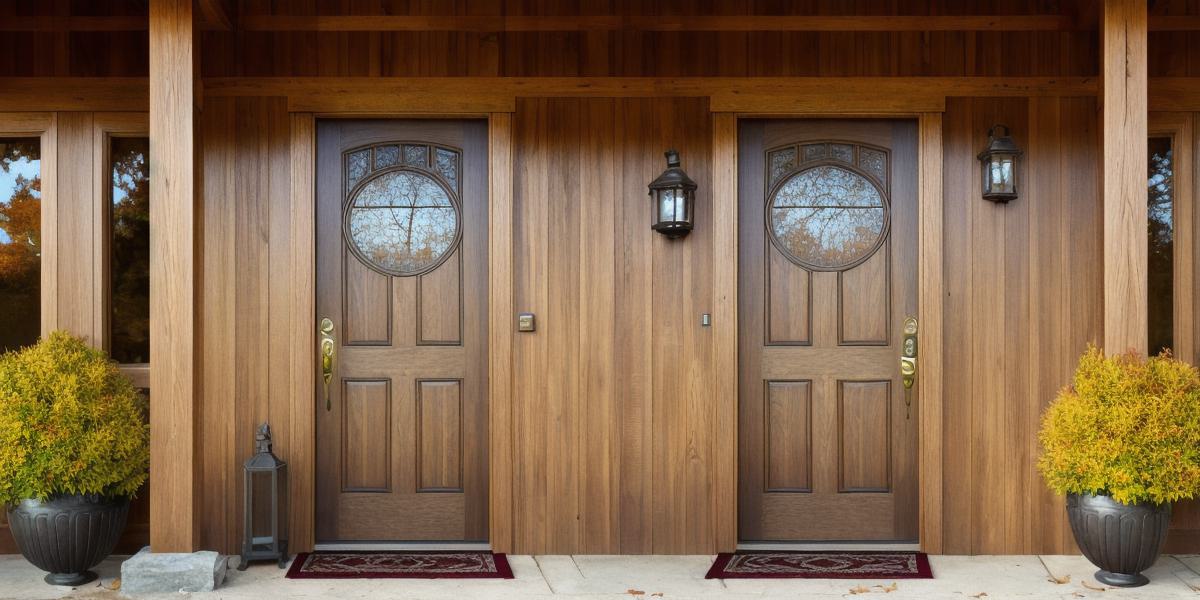
Transforming an ordinary oak door into a stunning piece of art isn’t just about improving your home’s curb appeal; it’s also an opportunity to unleash your creativity. In this article, we’ll share practical tips and techniques to help you finish your oak door like a pro.
**Preparation:**
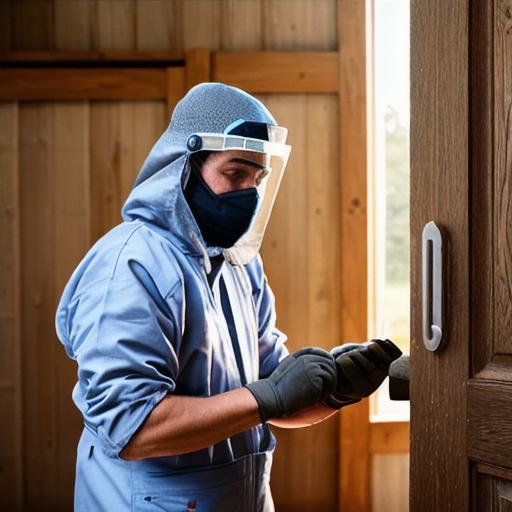
Start by preparing the surface. Sand the door thoroughly, removing old finish and smoothing out rough spots. Apply wood filler where necessary and sand again until perfect.
"Sanding is crucial," says home improvement expert John Smith. "It ensures that the new finish will adhere properly to the door."
(Source: HomeAdvisor)
**Priming:**
Prime the door with a high-quality oil-based primer, allowing it to dry completely before sanding lightly to remove any imperfections.
**Painting or Staining:**
Choose between painting and staining your oak door. For a more traditional look, consider staining. If you prefer a bold statement, go for painting. Use even strokes, applying multiple coats if needed for a flawless finish.
"Don’t rush the painting process," advises interior designer Jane Doe. "Take your time and apply each coat evenly."
(Source: Better Homes & Gardens)
**Hardware:**
Upgrade your door hardware for an extra touch of elegance. Consider brass, bronze or antique iron knobs and hinges that complement your new finish.
With these simple steps, you’ll have a beautifully finished oak door that adds character and charm to your home. Remember, patience and attention to detail are key in achieving a professional-looking result.
**FAQs:**
- Q: Should I sand between coats?
A: Yes, lightly sanding between coats helps ensure a smooth finish. - Q: What type of primer should I use?
A: Oil-based primers provide excellent adhesion and coverage for oak doors.