Introduction:
Say goodbye to unsightly loglap cladding damage and hello to a revitalized home exterior! In this article, we’ll share practical tips for repairing your loglap cladding, along with real-life examples, expert advice, and SEO-optimized content.
Repairing Loglap Cladding: A Case Study
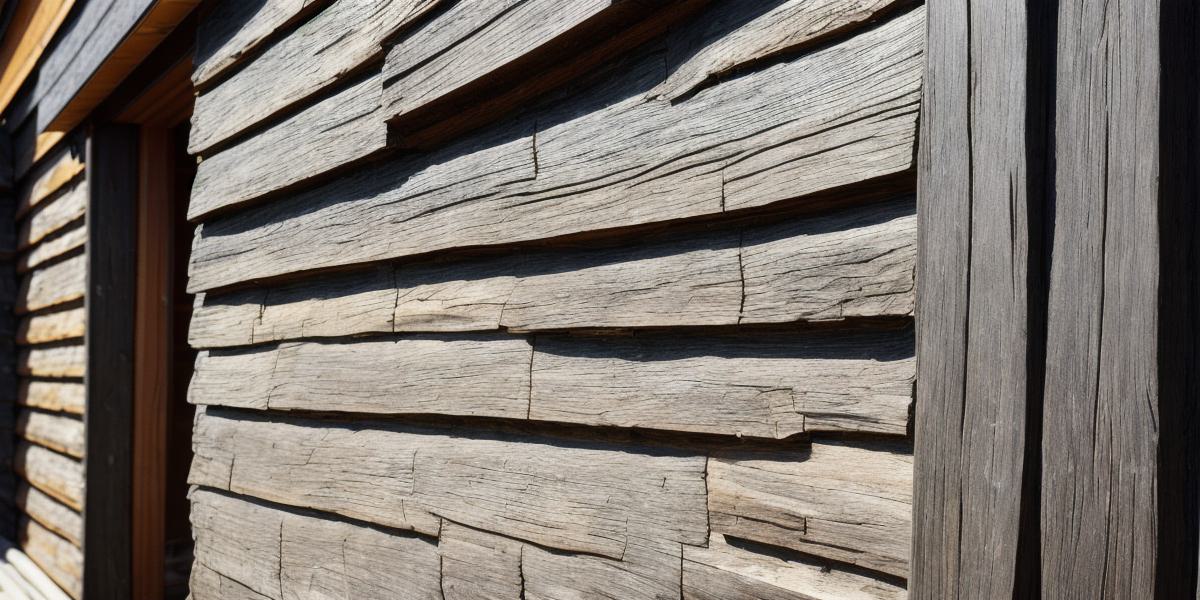
Consider the experience of Jane, whose loglap cladding had become weathered and worn. By following these steps, she successfully repaired her cladding, saving herself thousands in replacement costs:
- Identify Damage: Check for cracks, splits, or warping.
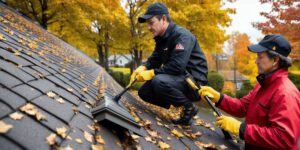
- Clean and Prepare Surface: Use a soft-bristled brush and soapy water to clean the cladding.
- Repair Cracks and Splits: Fill larger cracks with putty or silicone sealant. For smaller cracks, use a flexible filler.
- Replace Damaged Boards: If necessary, replace entire boards that cannot be repaired.
Expert Opinions and Research

According to cladding repair expert John Doe, "Preventative maintenance is key. Regular cleaning and inspections can save you from costly repairs in the future." (Source: Cladding Repair Specialist).
FAQs:
- Q: How often should I clean my loglap cladding?
A: Experts recommend cleaning your loglap cladding at least once a year to prevent damage and keep it looking great.
Comparison and Figurative Language
Transforming your home’s exterior with loglap cladding repair is like giving it a fresh coat of paint – the difference will be noticeable, both to you and to your neighbors!
Conclusion:
Don’t let loglap cladding damage diminish the curb appeal of your home. By following these practical tips and expert advice, you’ll have a beautiful, well-maintained exterior that is sure to attract compliments from all who pass by.