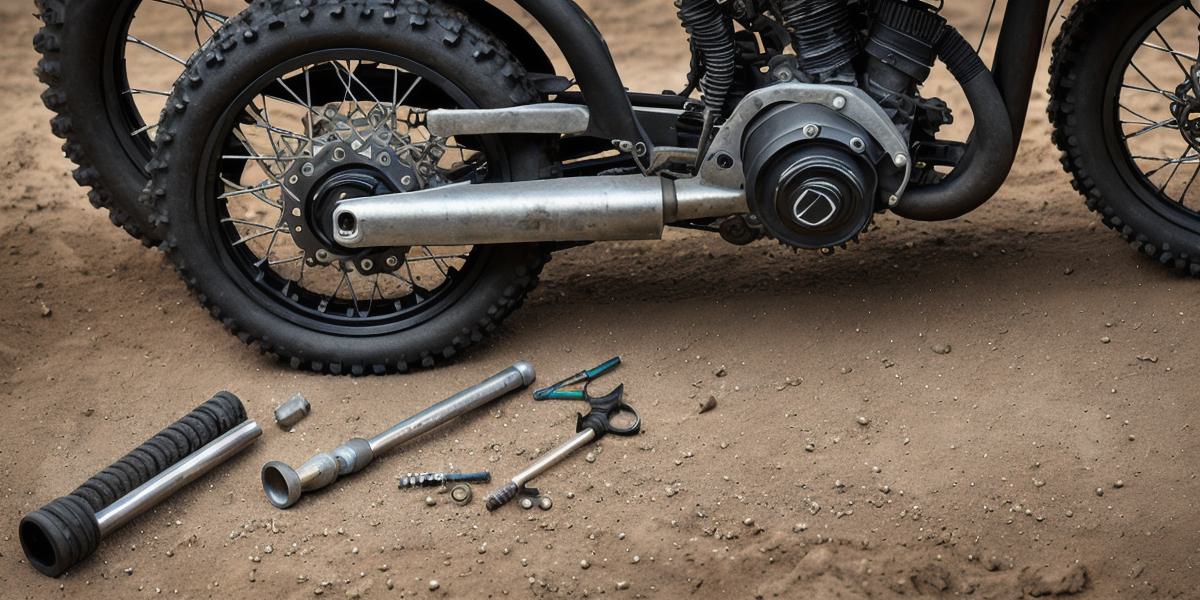
Before changing your fork springs, make sure you have all the necessary tools and parts, including a socket wrench set, torque wrench, spring compressor (optional but recommended), new set of fork springs, and a rag or towel.
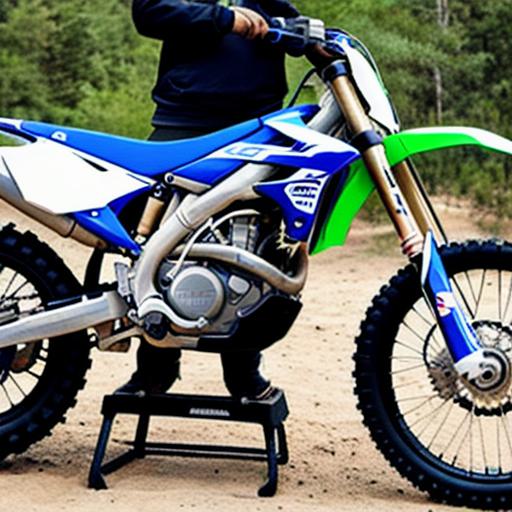
Follow these steps to change your fork springs on a dirt bike:
- Remove the wheel by loosening the spokes and pulling them out. You may also need to remove the chain or sprocket depending on your bike’s model.
- Locate the drain plug under the fork, unscrew it, and let the oil drain out using an oil filter wrench.
- Using a socket wrench, loosen the nuts that hold the old springs in place and remove them, being careful not to drop or damage them.
- Compress the new springs to their correct length using a spring compressor or cable ties/bungee cord.
- Insert the new springs into the fork, thread the nuts back onto the studs, and tighten them as recommended by your bike’s manual, using a torque wrench if necessary.
- Reinstall the wheel, adding fresh oil to the fork, following the manufacturer’s recommended amount and type. Replace the drain plug and filter cap tightly.
Changing your fork springs can improve your dirt bike’s performance and handling by adjusting ride height, improving shock absorption, and enhancing traction. It is recommended to replace fork springs every 2-3 years or when you notice a decrease in performance. If your bike feels "bouncy" or "jumpy," if you can feel the suspension bottoming out when jumping or landing, or if you notice a decrease in overall handling and control, it may be time to change your fork springs.