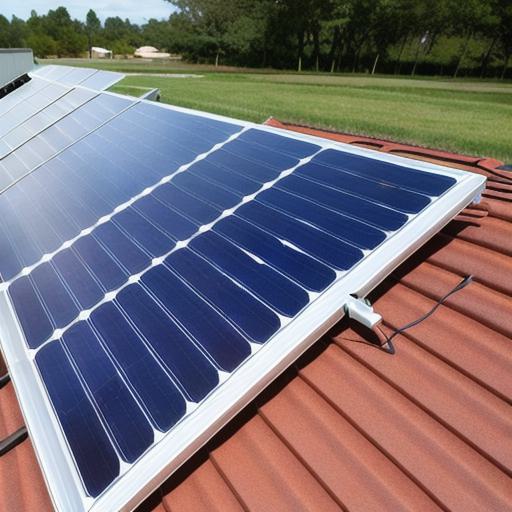
As the demand for renewable energy continues to grow, more and more people are installing solar panels on their homes. But with this shift towards cleaner energy comes a new challenge: maintaining the health of your inverter battery. As the heart of your solar panel system, the inverter battery is responsible for storing energy and releasing it when you need it.
To ensure that your inverter battery continues to function at its best, it’s important to regularly check its health.
Here are some steps you can take to monitor your inverter battery:
- Check the voltage output of your inverter battery. The ideal voltage output should be between 12-24 volts. If the output falls outside this range, there may be an issue with the battery or the wiring.
- Look at the temperature readings of your inverter battery. Ideally, the temperature should be between 30-50 degrees Fahrenheit. If it gets too hot or too cold, it can affect the battery’s ability to hold a charge and release energy when needed.
- Check for any signs of corrosion or damage on the inverter battery. Look for discoloration, cracks, or other signs that the battery is damaged. If you notice anything, it’s important to get it repaired or replaced as soon as possible.
- Monitor the battery’s cycle life. Cycle life refers to the number of times a battery can be charged and discharged before its capacity decreases. As your inverter battery ages, its cycle life will decrease. Keep an eye on this metric and replace the battery if it falls below 50% of its original capacity.
By regularly checking your inverter battery health, you can ensure that your solar panel system continues to function at its best.